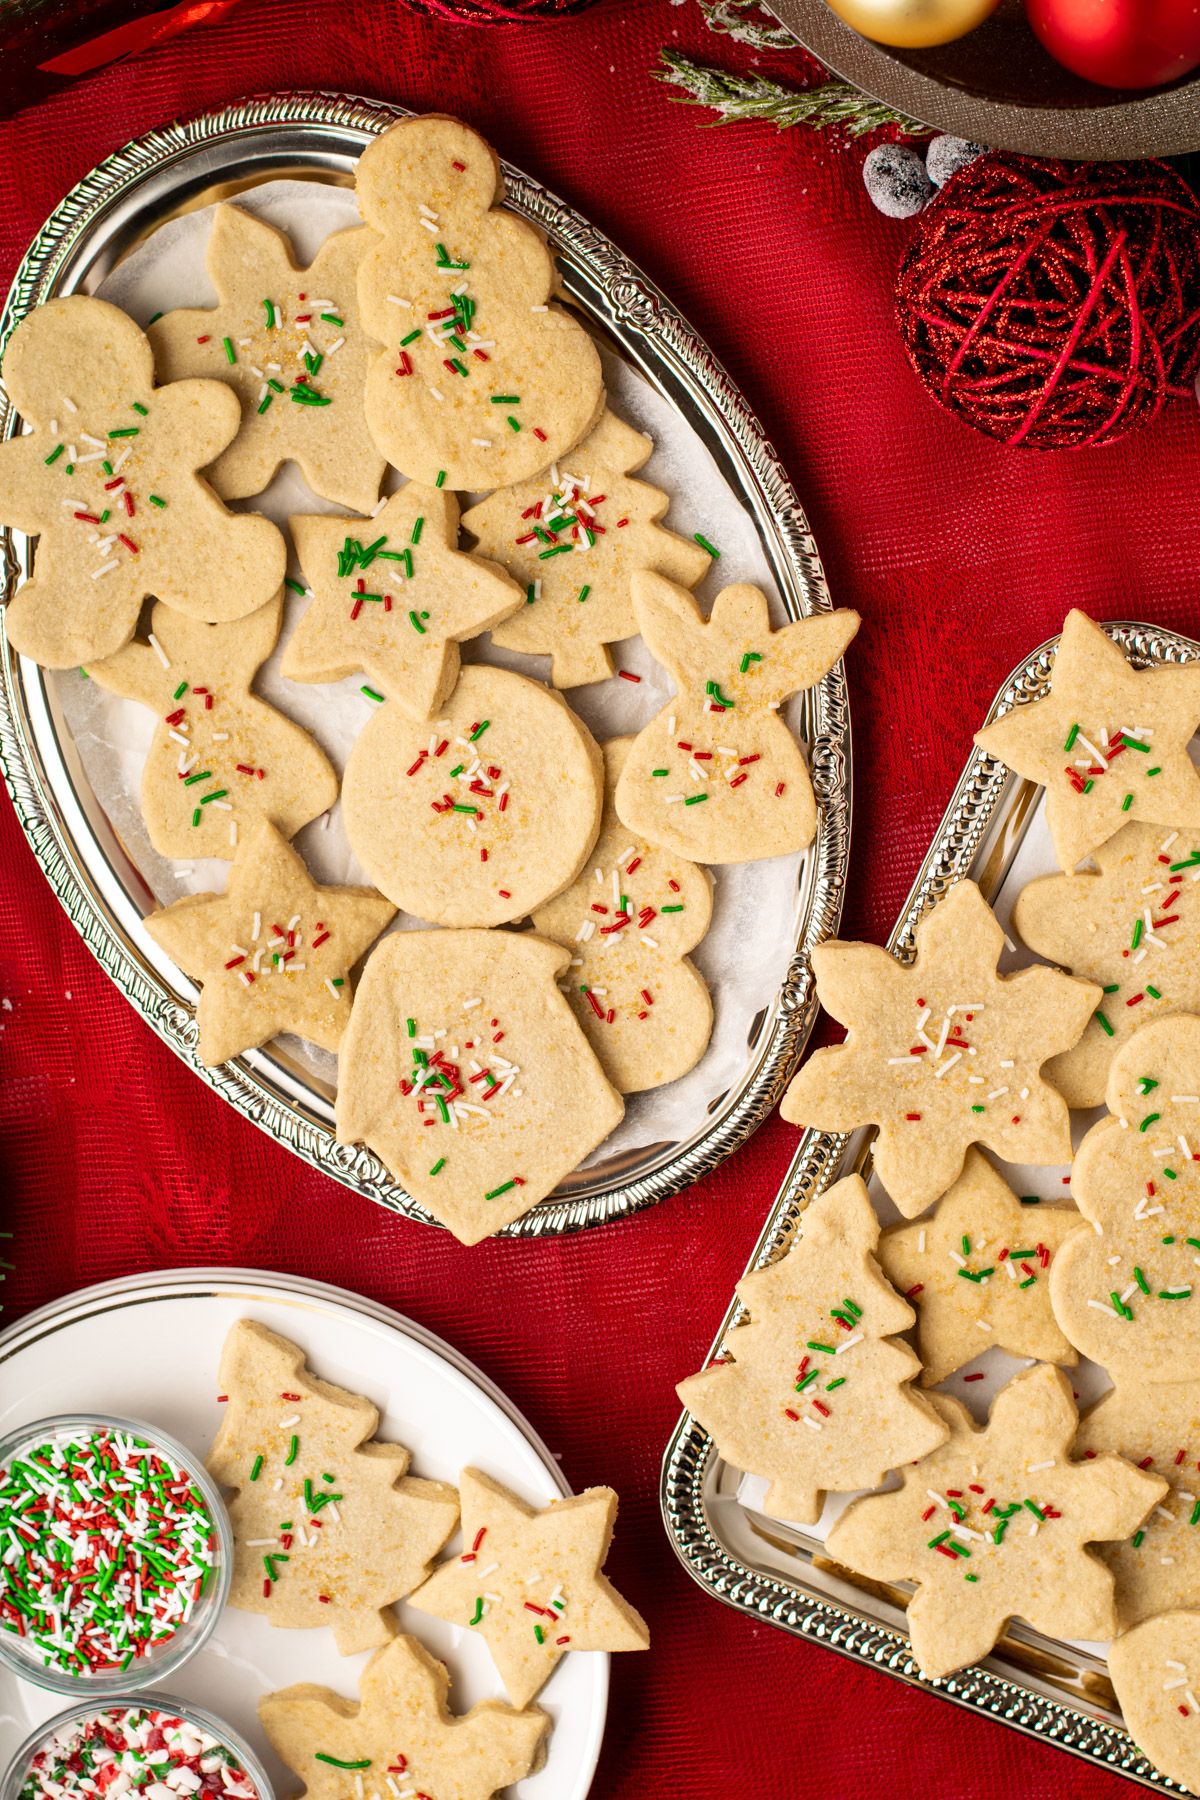
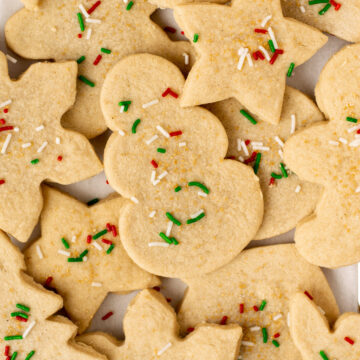
My grandma’s classic shortbread recipe, turned gluten-free. These gluten-free shortbread cookies are sweet, buttery, and just the right amount of crumbly. You won’t be able to stop at just one. Dairy-free option included.
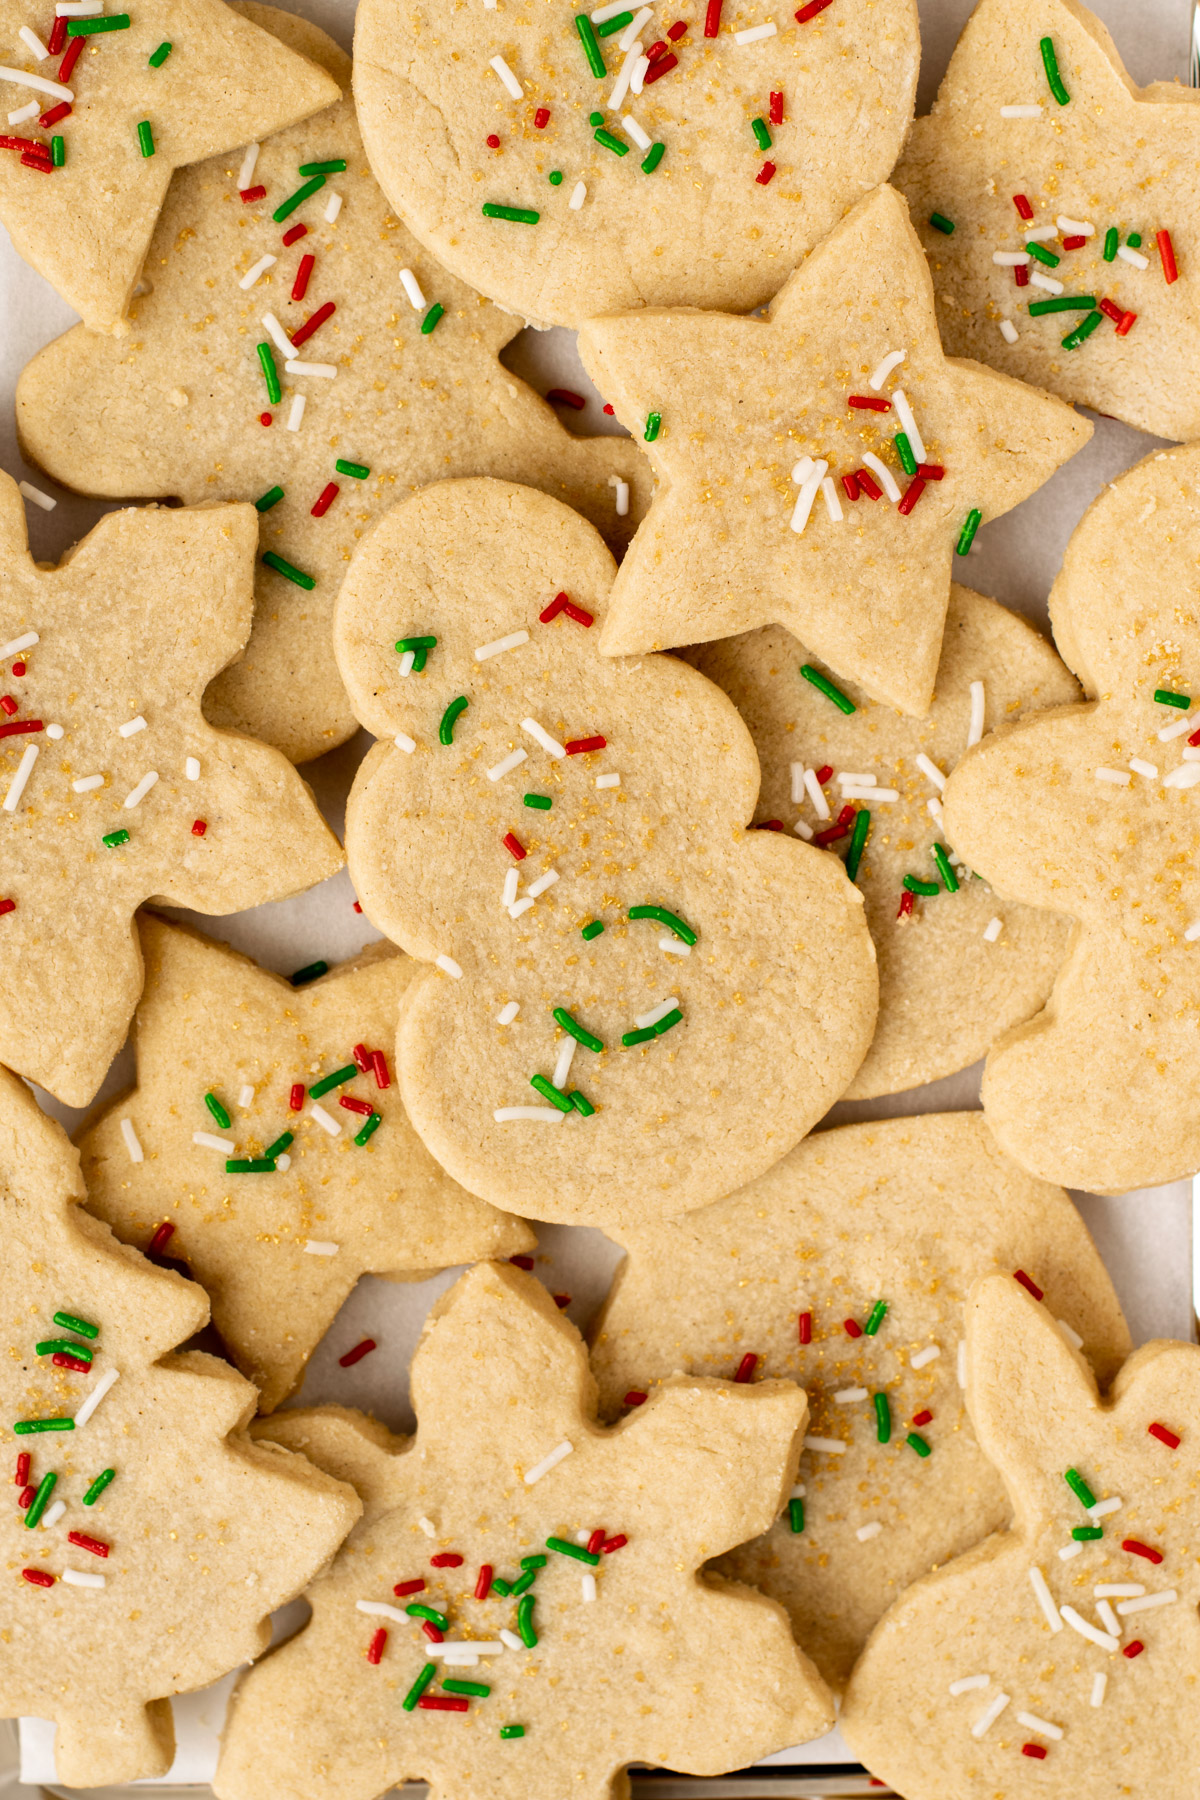
These gluten-free shortbread cookies are the ultimate holiday treat. Adapted from my grandma’s family-famous recipe, these little babies are melt-in-your-mouth creamy, perfectly sweet, and just the right amount of crumbly.
The recipe couldn’t be easier: just butter, brown sugar, and gluten-free all-purpose flour are all you need to create Christmas magic in your mouth. Plus a little love and elbow grease. This shortbread can also be made with dairy-free butter for a vegan shortbread cookie.
Want to learn how you too can create these delicious, crowd-pleasing gluten-free shortbread cookies for Christmas? (or any occasion!) Keep on reading.
Looking for more gluten-free cookies? Check out some of these:
- Gluten-Free Slice and Bake Sugar Cookies
- Gluten-Free Dairy-Free Millionaire Shortbread
- Gluten-Free Oreo Truffles
- Gluten-Free Matcha Shortbread Cookies
Jump to:
Why You'll Love This Recipe
- Simple ingredients. Just 3, in fact! I bet you already have the ingredients in your kitchen, making these shortbread cookies too easy to whip up.
- A family-favourite recipe. Of course I tested these cookies several times to ensure that the recipe would work with gluten-free flour, but the ratio of ingredients has been loved by family for years and years. They’re a classic Christmas cookie for a reason, and your family is sure to love them as well.
- It’s allergy friendly. This recipe can be made gluten-free, dairy-free, vegan, and nut-free. Perfect to share with family and friends.
Ingredients Needed
Here is everything you'll need to make these gluten-free shortbread cookies:
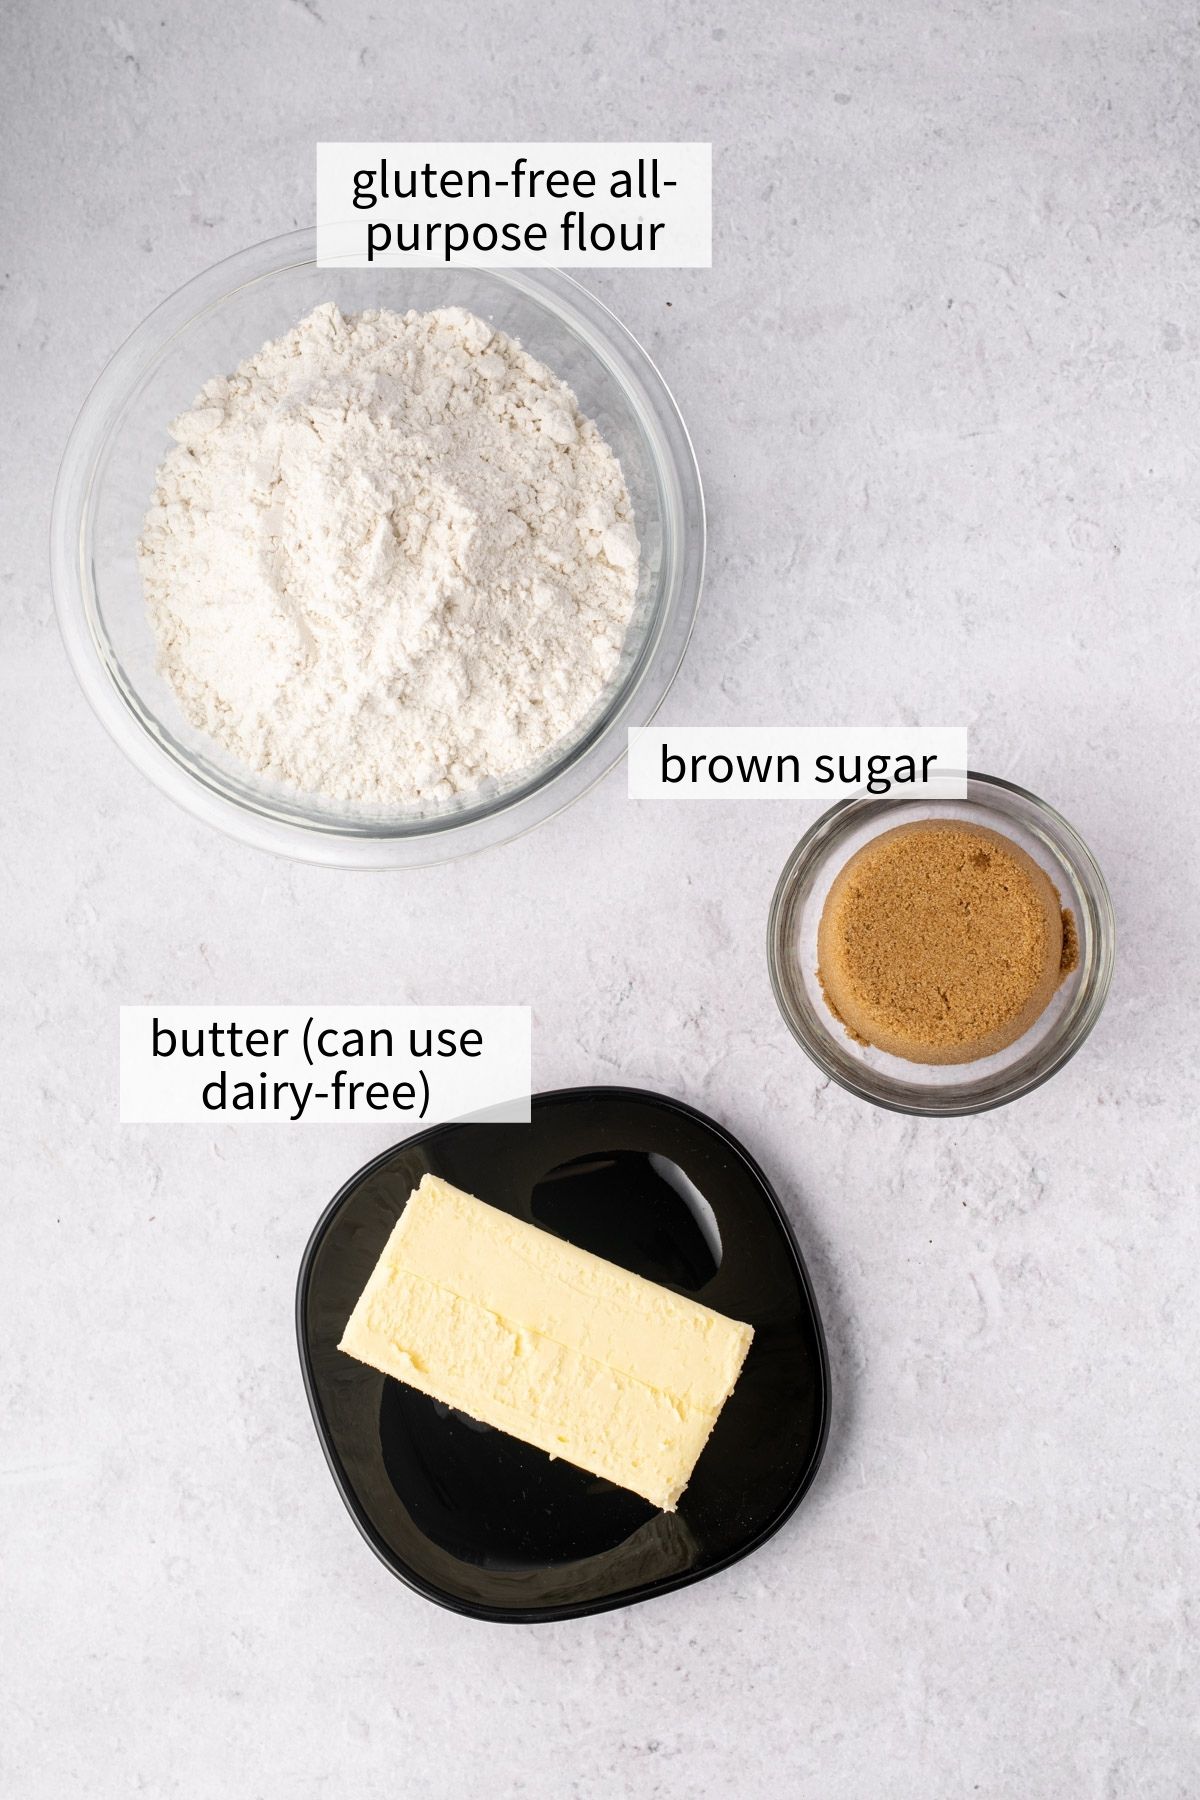
- Butter: As there are only 3 ingredients in this recipe, each one plays a big part in the flavour and texture of the shortbread cookies. The butter gives the cookies their distinct creamy flavour and short texture. In my opinion, butter is a very important ingredient. Of course you can use your favourite dairy-free butter (I’ve tested and it still works well), I just found the cookies lacked that distinct buttery flavour. So if you’re making these dairy-free, try to find the butteriest dairy-free butter you can.
- Brown sugar: The use of brown sugar over granulated white sugar brings more moisture and a deeper flavour to the shortbread. While you can use white granulated sugar if that’s all you have, I definitely recommend dark brown sugar.
- Gluten-free all-purpose flour with xanthan gum: It’s important to use a blend that contains a binding agent like xanthan gum. Otherwise your shortbread will be… too short (aka crumbly). I would also avoid a flour with bean or legume flours, as they can be more flavourful and you may taste that in the cookie. My favourite flour to use is the Bob’s Red Mill 1:1 Baking Flour (in the blue bag).
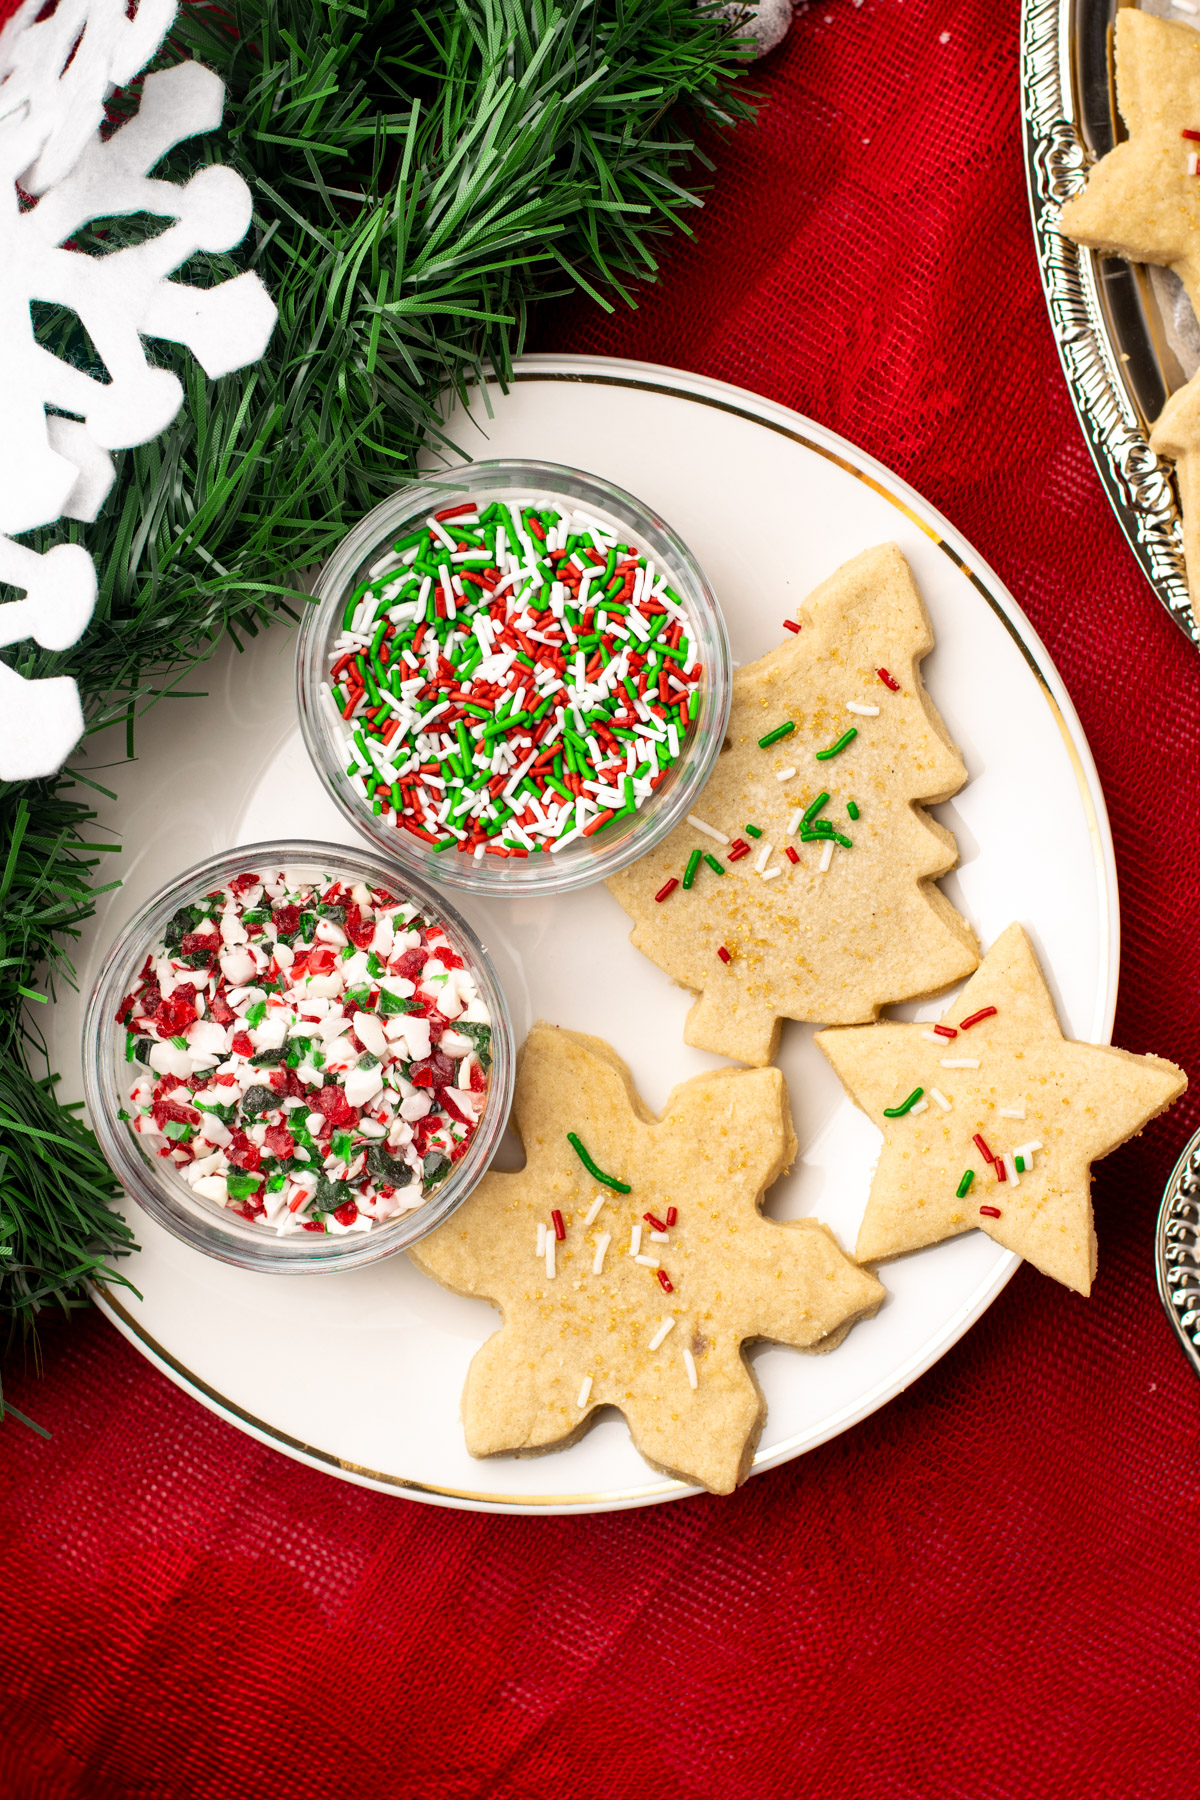
- Sprinkles (optional): My grandma always adds sprinkles to the top of each cookie, so I like to add some festive sprinkles too.
Equipment Needed
- Hand mixer or stand mixer: To beat the butter and sugar together. You want to do this for several minutes, so having some type of electric device will save your arms! If you don’t have one, use a wooden spoon or spatula and mix vigorously.
- Rolling pin: Use any type of tube-shaped device if you don’t have one, such as a pop can.
- Cookie cutters: Use your favourite holiday-shaped cookie cutters if you have some. Alternatively you can just use circular cookie cutters, or even the rim of a glass.
Note: Cookie cutters have lots of nooks and crannies and can be a source of cross-contamination. If you are celiac or very sensitive to gluten, I recommend having your own set of gluten-free cookie cutters.
- Baking sheets: This recipe makes a lot of cookies! Having multiple large baking sheets will accelerate the baking process.
- Wire rack: This is important for cooling the cookies evenly to avoid condensation on the bottom.
Step-by-Step Instructions
Be sure to read the recipe card below for the full ingredient list and instructions.
Make the dough
(1) Place the butter and brown sugar in the bowl of a stand mixer (or a large bowl). Use the paddle attachment or a hand mixer fitted with the beaters to beat together for 3-4 minutes on medium speed. Stop to scrape down the sides of the bowl with a rubber spatula as needed.
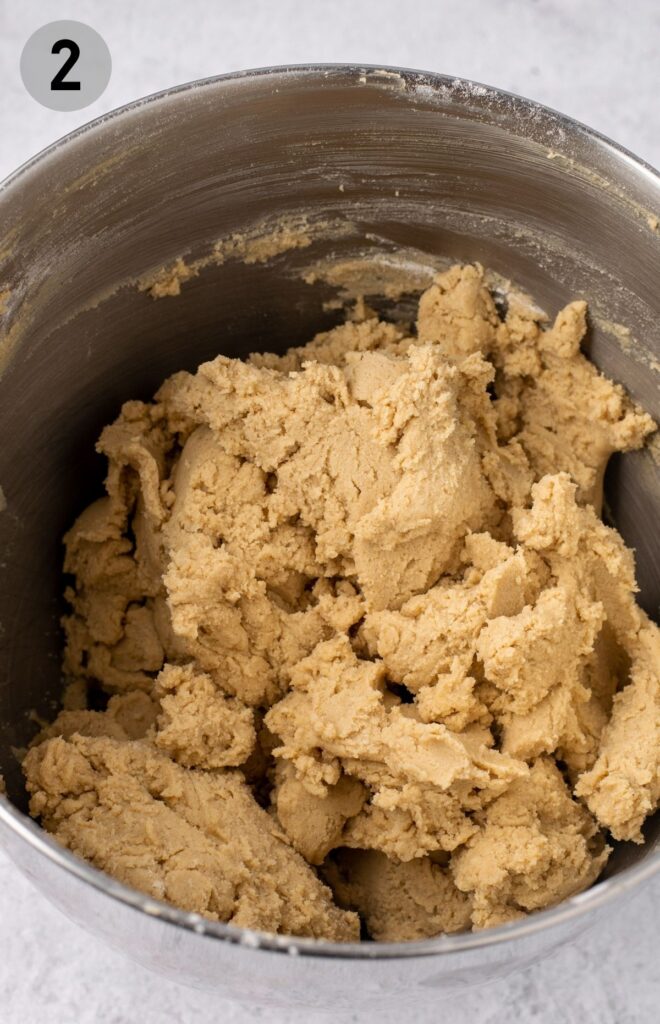
(2) Slowly add in the flour, 1 cup at a time. Mix briefly after each addition, starting on low. Mix until thoroughly combined at the end, switching to a rubber spatula if needed. The dough will be fairly thick.

Divide the dough in half, form each half into a disc, wrap with plastic, and refrigerate for 20-30 minutes. *see note for dairy-free butter timing
Roll the cookies
Preheat the oven to 325°F and prepare the counter for rolling out the cookies. Dust with gluten-free flour, have a rolling pin nearby, bring out the cookie cutters, and prepare 2-3 large baking sheets with parchment paper.
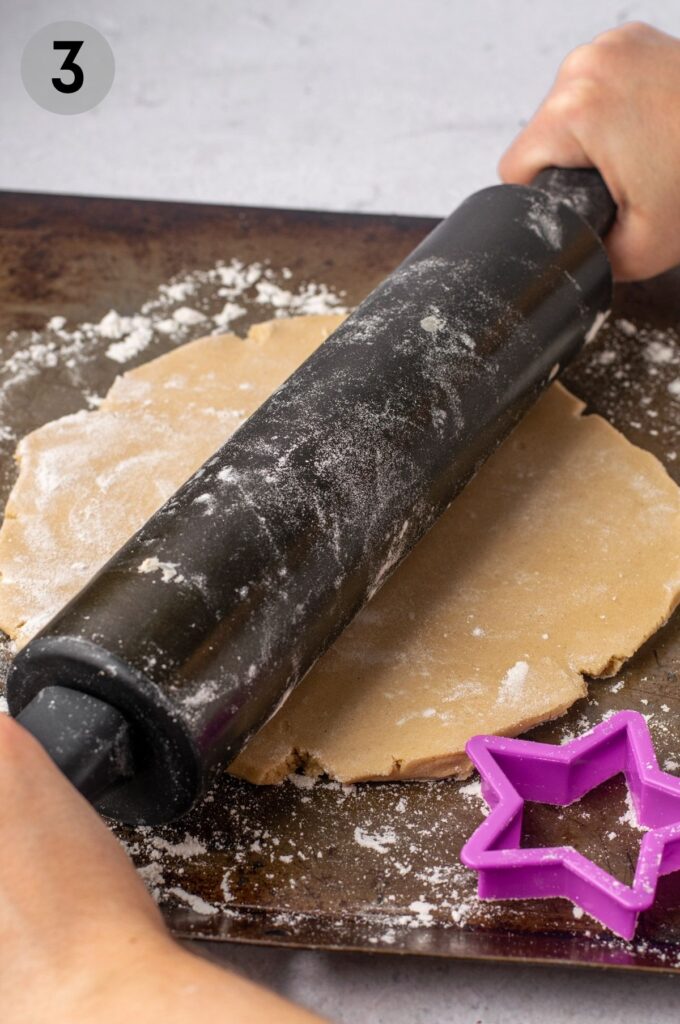
(3) Remove half of the dough from the fridge. Let it sit for a few minutes if it is too firm. Dust with gluten-free flour on both sides and roll as large as you can with ¼" thickness. Yes, they're thick. It helps them keep their shape while baking and also gives a delicious bite.
(4) Cut out shapes with your favourite cookie cutters and place on the prepared baking sheets about 2" apart. If the dough is a bit stuck to the counter, I like to run an offset spatula underneath to loosen it up and transfer to the baking sheet. Dust with gluten-free flour as needed.

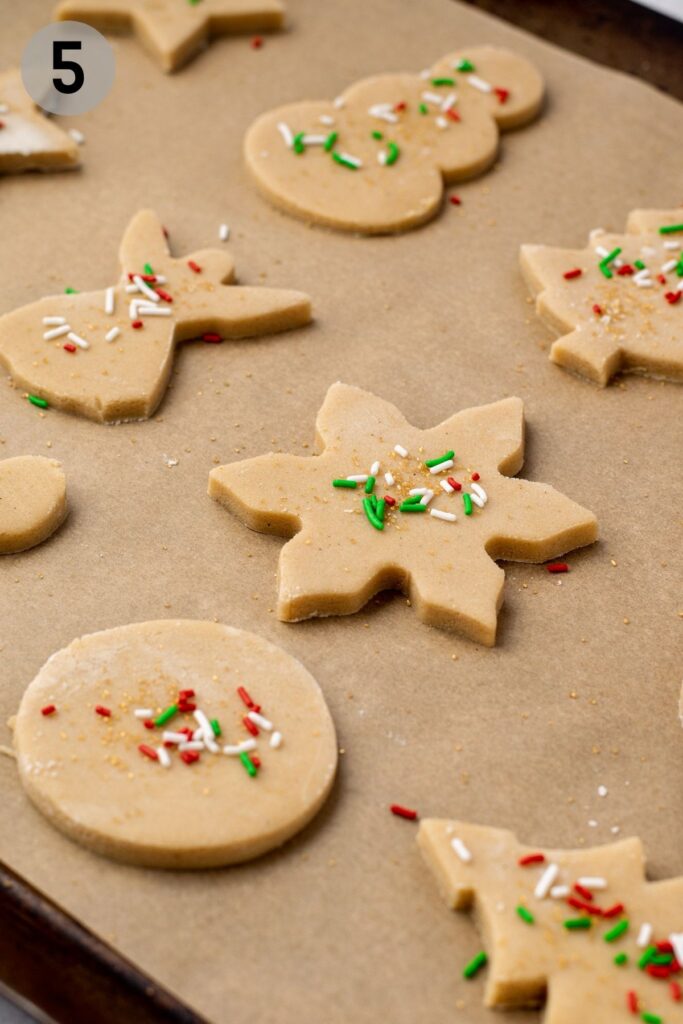
(5) Once you've filled a baking sheet with cookies, add some sprinkles if you wish and place the baking sheet in the fridge for 10-15 minutes for the cookies to chill in shape. Continue rolling and cutting the dough. Bring dough scraps together into a ball and re-roll. Continue with the second disc of dough when needed, and keep rotating cookie sheets from the fridge to the oven.
Bake the cookies
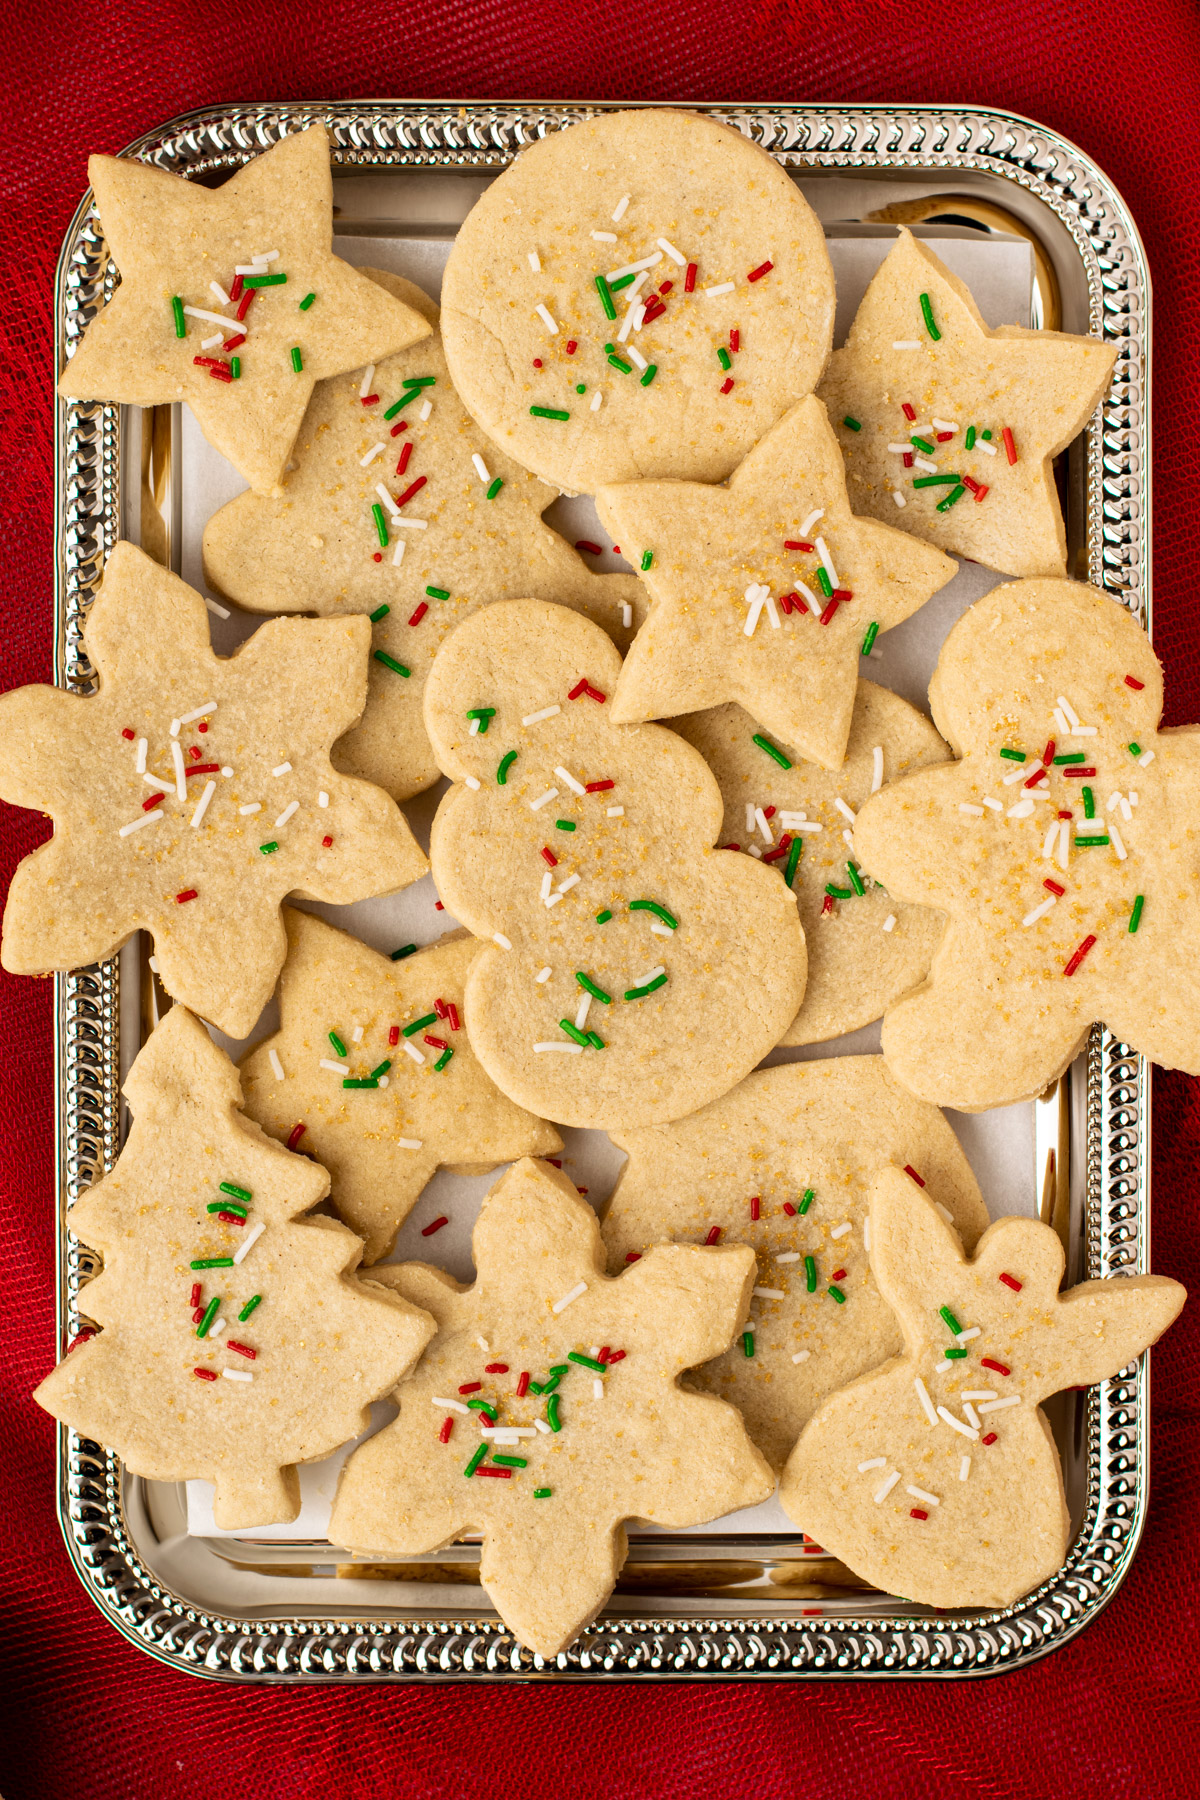
After shaped cookies have chilled, place in the oven for 8-10 minutes. That's it. The cookies will have no colour when you remove them, and that means they're perfect. If they have a golden edge, they're likely overdone, but still delicious. If your cookies are cut very small, you will need to remove them a few minutes early. Similarly if you have very large cookie cutters, they may need a few minutes more. Keep an eye on them.
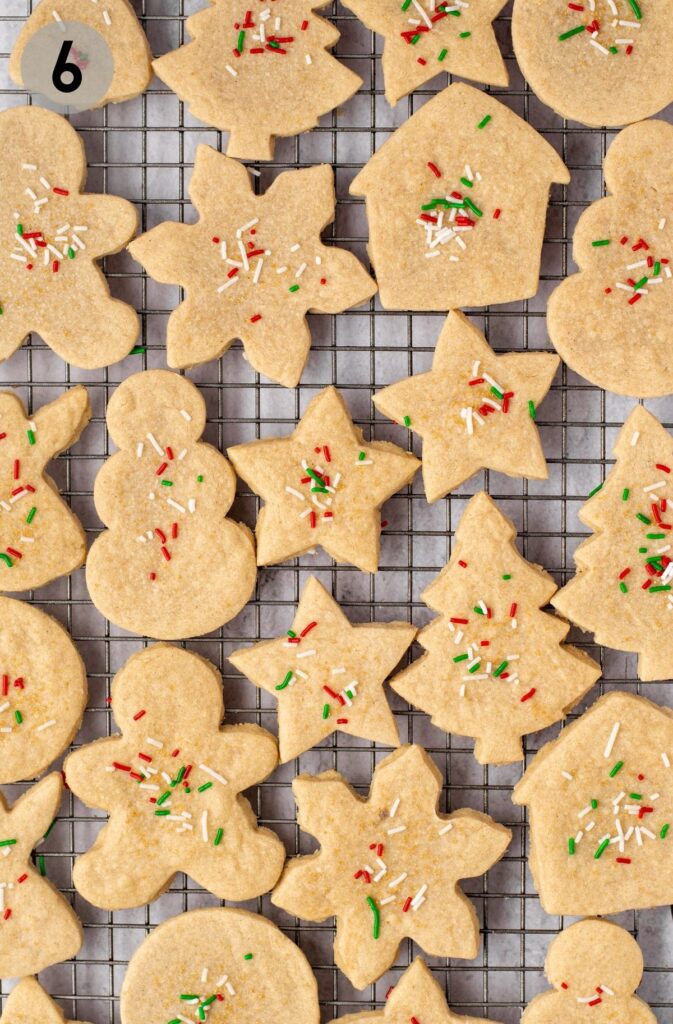
(6) Allow cookies to cool on the baking sheet until you are able to handle them (at least 10 minutes). They are delicate. Carefully transfer to a wire rack for the cookies to cool completely.
Continue rolling, cutting, baking, and cooling with all of the cookie dough. Once cooled, enjoy! See below for a dairy-free option, storage, and freezing instructions.
How to Make Vegan Shortbread Cookies
To make these shortbread cookies dairy-free and vegan, use your favourite dairy-free butter. Note that a lot of flavour in these cookies comes from the butter, so choose the most flavourful dairy-free butter you know of.
In my tests, dairy-free butter also made the cookie dough a lot softer, as it is often made from plant-based oils. You may need up to ¼ cup of extra flour in the dough to make it workable. I also recommend chilling the dough in plastic wrap for about 1 hour, as opposed to the real butter only needs 20-30 minutes. This is again because dairy-free butter is made from oils, most often.
If things are getting sticky, try 1) chilling the dough, then 2) adding some more flour.
Storage & Freezing Instructions
Storage
Cookies can be stored in an airtight container at room temperature for up to 5 days.
Freezing
Cookie Dough
Shortbread cookie dough can be frozen, wrapped in plastic and in an airtight container, for several months. To thaw, place in the fridge overnight, then allow to sit on the counter for 15-30 minutes until you are able to roll it. Continue with cutting and baking cookies as normal.
Baked Cookies
Baked cookies can be frozen in an airtight container for up to 3 months. Defrost at room temperature for a few hours and enjoy.

Expert Tips
Here are some of my top tips and tricks for successful gluten-free shortbread cookies:
- Beat the butter and sugar for several minutes. This will ensure the sugar is fully dissolved for an even bake.
- Yes, you really have to chill the dough. Twice. Trust me, I'm all for quick and easy recipes, so I will avoid chilling whenever possible. For these cookies though, you really do have to chill them both before rolling the dough, and just before baking. This ensures the dough is workable and that the cookies hold their shape while baking. Good news is they are both short chills! *Note that dairy-free cookies may require longer chilling times.
- Have your own gluten-free cookie cutters to avoid cross contamination. Cookie cutters can have lots of nooks and crannies for gluten to hide.
- Roll them thick! I like to roll to ¼" thickness for a good, sturdy bite. The thickness (and chilling) also helps keep the cookies from spreading in the oven.
- Keep flouring your work surface. I'm always flouring and turning my dough as I roll to avoid sticking and tearing the dough. The quicker you roll, the shorter you'll need to chill.
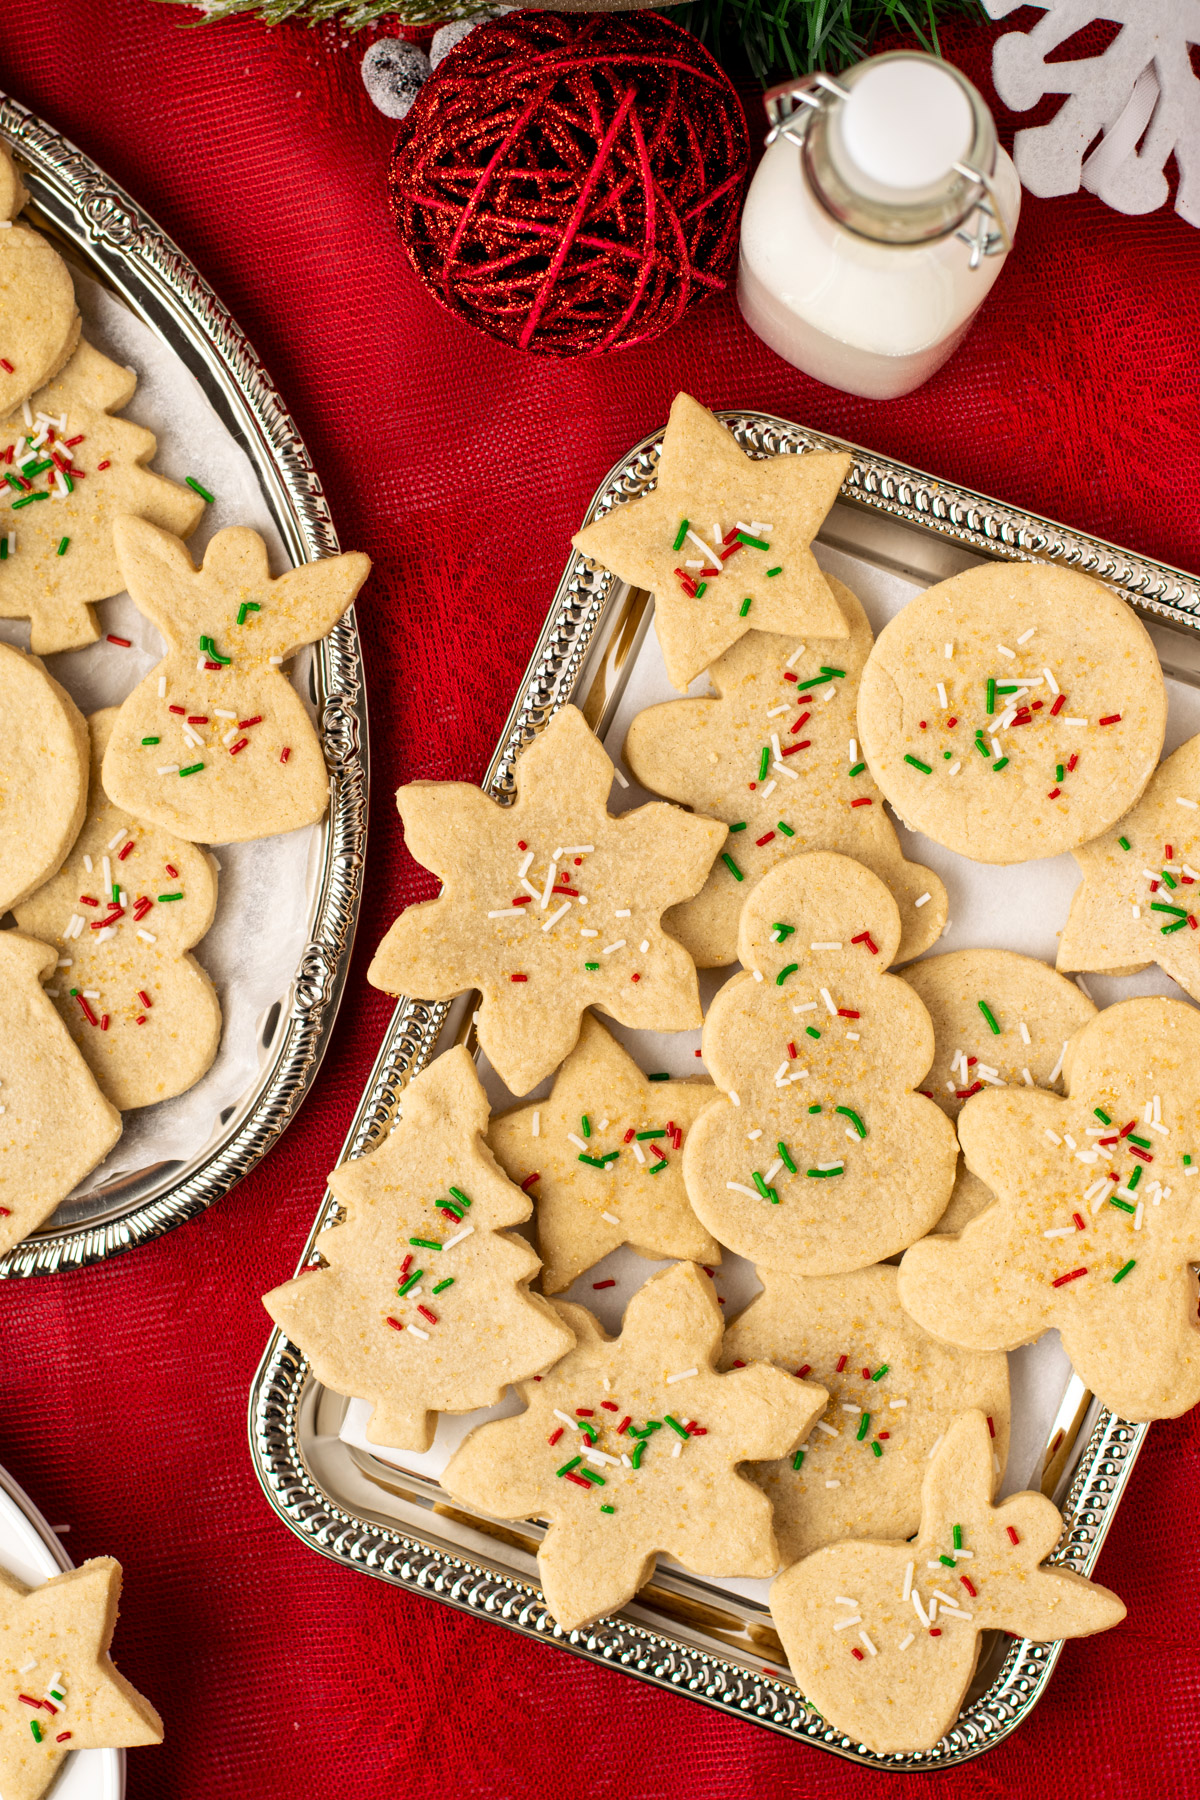
- Don't overbake! The cookies should not have colour when they are removed! For any shapes similar to the ones photographed below, they will not need more than 8-10 minutes in the oven. If there is a golden edge on the cookies, they're likely overdone, but still delicious.
- Cool completely on a wire rack. This will avoid condensation on the bottom of the cookies and ensure a delicious bite.
- Make the dough ahead of time. Save time and energy by making dough ahead of time and storing it in the fridge for up to 4 days, or freeze for up to several months. Thaw in the fridge overnight and then place on the counter until it's able to be rolled, about 15-30 minutes.
Frequently Asked Questions
Yes, you can use your favourite dairy-free butter (I’ve tested and it works well). I just found that the cookies lacked their distinct buttery flavour. So if you’re making these dairy-free, try to find the butteriest dairy-free butter you can. You may also have to add up to ¼ cup of extra gluten-free flour to the dough and when rolling, as dairy-free butters are often made from plant-based oils and are very soft. Chilling the dough will also take slightly longer. Please read the section above about how to make these shortbread cookies dairy-free.
Trust me, I'm all for quick and easy recipes, so I will avoid chilling whenever possible. For these cookies though, you really do have to chill them both before rolling the dough, and just before baking. This ensures the dough is workable and that the cookies hold their shape while baking. Good news is they are both short chills! *Note that dairy-free cookies may require longer chilling times.
Yes! Save time and energy by making the dough ahead of time and storing it in the fridge for up to 4 days, or in the freezer for several months. Thaw in the fridge overnight and then place on the counter until it's able to be rolled, about 15-30 minutes.
Your shortbread dough is probably too cold if it won't stay together as you roll it. Let it sit on the counter for 5-10 more minutes, then press it together and roll. The dough should be cool and pliable when rolling it out.
Baked shortbread cookies should be delicate, but not crumbly. Try rolling your cookies thicker and chill them before baking for optimal results. Dust with gluten-free flour when rolling, but try not to add too much extra flour to the dough.
Baked cookies can be frozen in an airtight container for up to 3 months. Defrost at room temperature for a few hours and enjoy.
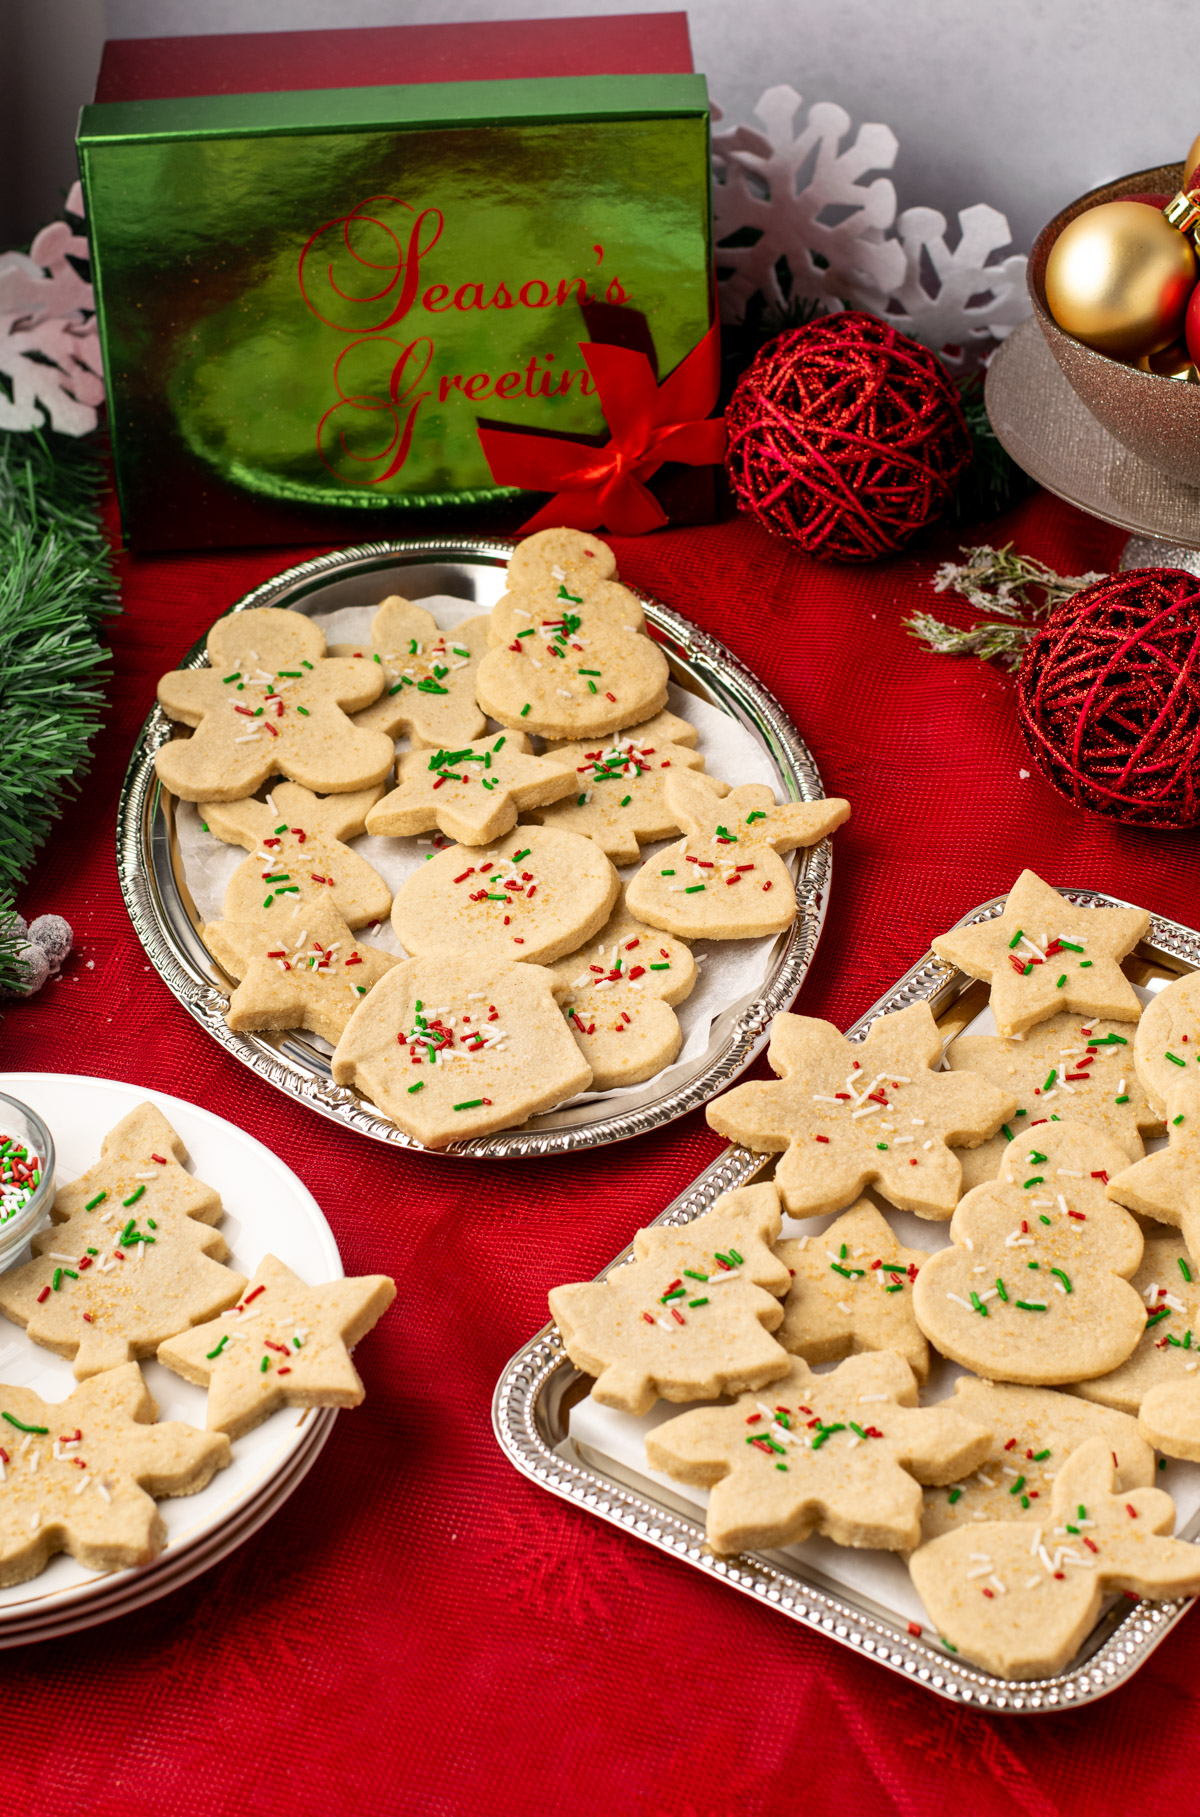
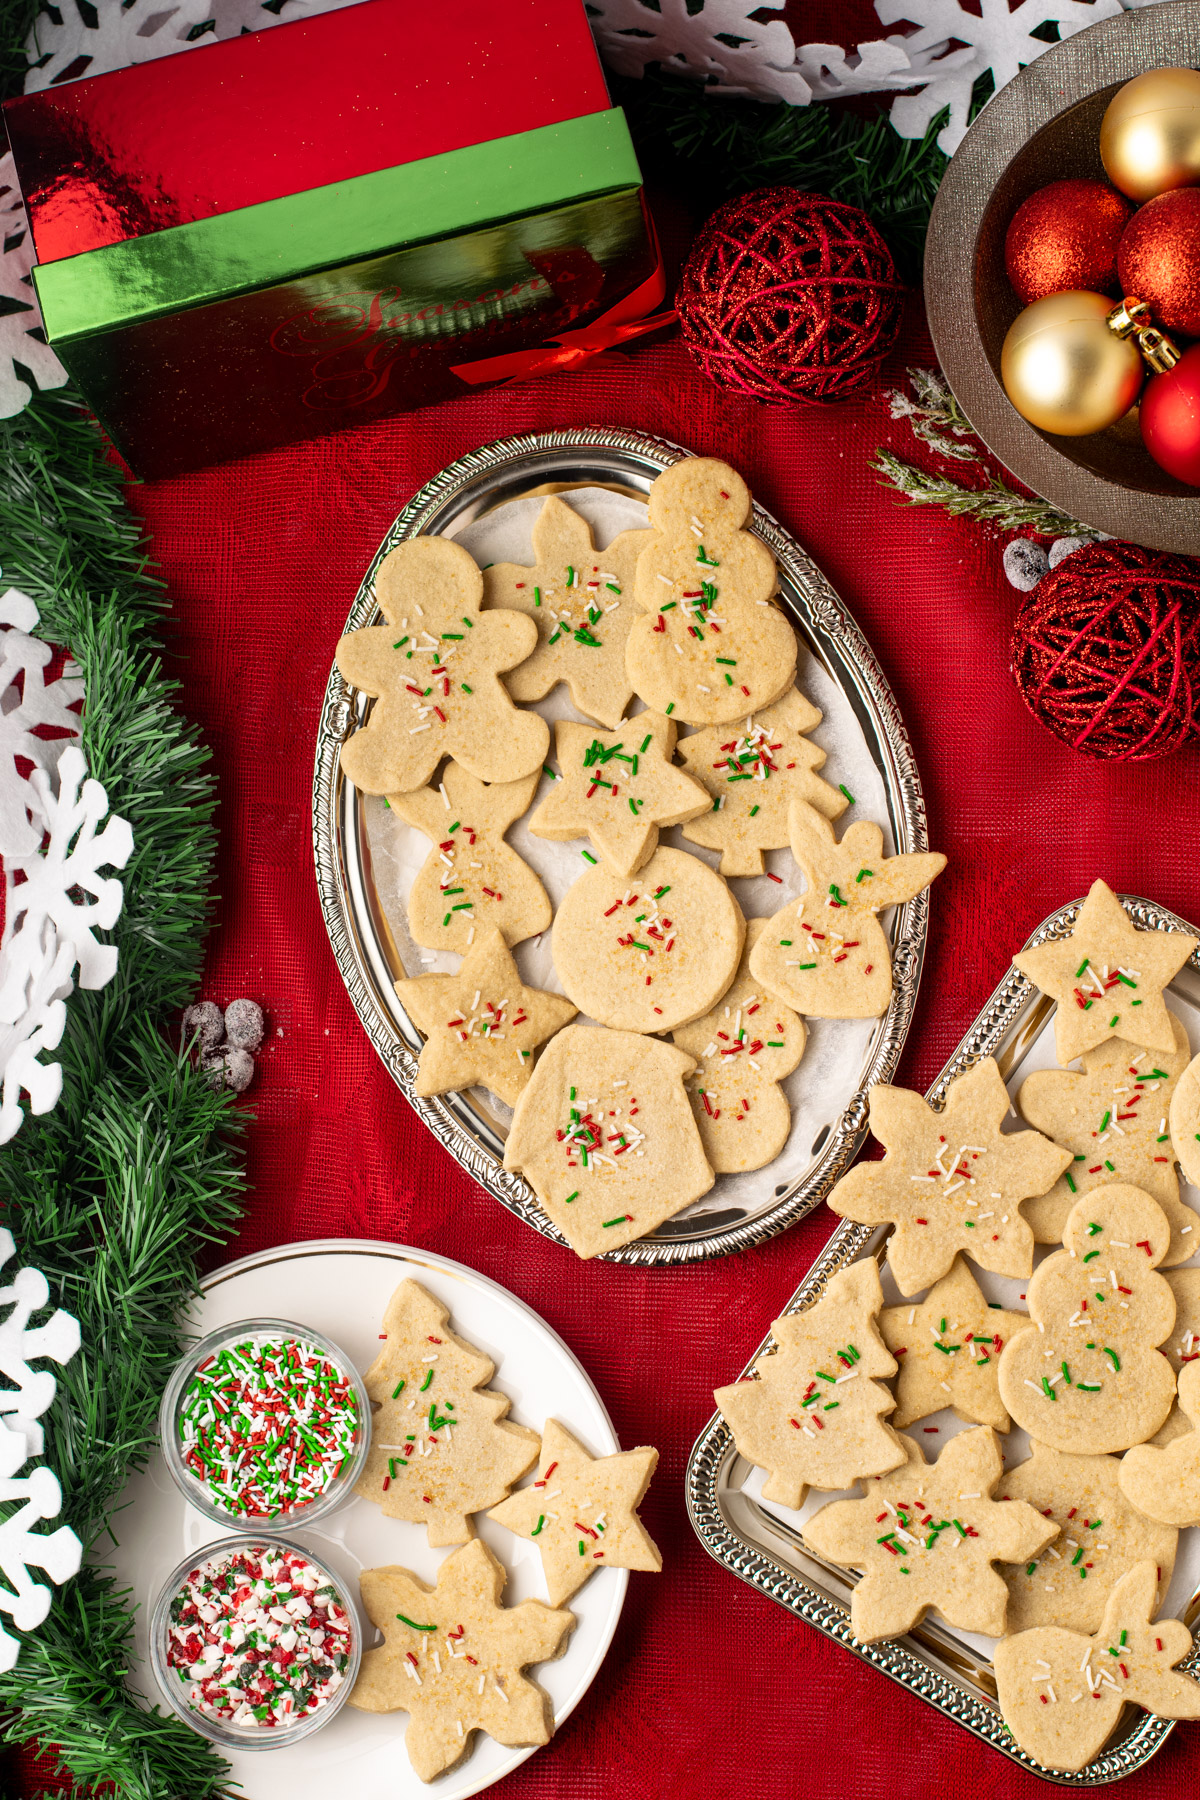
And that's the recipe for my grandma's classic shortbread, made gluten-free! These gluten-free shortbread cookies are always a hit at the holidays, but who says you can't whip them up any time of year. The dairy-free option makes these cookies vegan as well. I hope you enjoy these sweet and creamy shortbread cookies with your family and friends.
Have you made these gluten-free shortbread cookies? I would be so grateful if you leave a 5-star review below and tag me on instagram @fromoliviaskitchen. I hope you enjoy as much as I do!
More Gluten-Free Holiday Treats

Recipe
Gluten-Free Shortbread Cookies
Equipment
- Stand or hand mixer
- Rolling Pin
- Cookie cutters
- Large baking sheets
- Wire rack
Ingredients
- 1 lb (2 cups) softened butter, salted If using unsalted butter, add a generous pinch of salt to the dough when adding the flour. See note below about using dairy-free butter.
- 1 cup brown sugar, packed
- 4 cups gluten-free all-purpose flour with xanthan gum I use Bob's Red Mill 1:1 Baking Flour (blue bag)
- sprinkles optional
Instructions
Make the dough
- Place the butter and brown sugar in the bowl of a stand mixer (or a large bowl). Use the paddle attachment or a hand mixer fitted with the beaters to beat together for 3-4 minutes on medium speed. Stop to scrape down the sides of the bowl with a rubber spatula as needed.
- Slowly add in the flour, 1 cup at a time. Mix briefly after each addition, starting on low. Mix until thoroughly combined at the end, switching to a rubber spatula if needed. The dough will be fairly thick.
- Divide the dough in half, form each half into a disc, wrap with plastic, and refrigerate for 20-30 minutes. *see note for dairy-free butter timing
Roll the cookies
- Preheat the oven to 325°F and prepare the counter for rolling out the cookies. Dust with gluten-free flour, have a rolling pin nearby, bring out the cookie cutters, and prepare 2-3 large baking sheets with parchment paper.
- Remove half of the dough from the fridge. Let it sit for a few minutes if it is too firm. Dust with gluten-free flour on both sides and roll as large as you can with ¼" thickness. Yes, they're thick. It helps them keep their shape while baking and also gives a delicious bite. Cut out shapes with your favourite cookie cutters and place on the prepared baking sheets about 2" apart. If the dough is a bit stuck to the counter, I like to run an offset spatula underneath to loosen it up and transfer to the baking sheet. Dust with gluten-free flour as needed.
- Once you've filled a baking sheet with cookies, add some sprinkles if you wish and place the baking sheet in the fridge for 10-15 minutes for the cookies to chill in shape. Continue rolling and cutting the dough. Bring dough scraps together into a ball and re-roll. Continue with the second disc of dough when needed, and keep rotating cookie sheets from the fridge to the oven.
Bake the cookies
- After shaped cookies have chilled, place in the oven for 8-10 minutes. That's it. The cookies will have no colour when you remove them, and that means they're perfect. If they have a golden edge, they're likely overdone, but still delicious. If your cookies are cut very small, you will need to remove them a few minutes early. Similarly if you have very large cookie cutters, they may need a few minutes more. Keep an eye on them.
- Allow cookies to cool on the baking sheet until you are able to handle them (at least 10 minutes). They are delicate. Carefully transfer to a wire rack for the cookies to cool completely.
- Continue rolling, cutting, baking, and cooling with all of the cookie dough. Once cooled, enjoy! See below for a dairy-free option, storage, and freezing instructions.
Sarah says
Dough spread and completely lost its shape. Crumbly merged mess. Can’t recognise shapes and can’t pick them up. I followed recipe exactly including chill times. Tastes ok it just had too much butter maybe?
Olivia Parsons says
Hi Sarah, Sorry this didn't work out for you. Did you use one of the suggested GF flours? Yes, this does sound like not enough flour was added / dough wasn't cold enough. They shouldn't spread too much but still taste great!
Sharon says
Can you add lemon zest and/or lemon juice to make lemon shortbread cookies?
Olivia Parsons says
I would mix zest into the sugar and if anything a splash of lemon extract. I worry lemon juice may interfere with the dough texture.
Amarie says
Can these cookies be frosted?
Olivia Parsons says
If they are cut thick enough, as the shortbread is quite crumbly by nature.
Olivia Parsons says