These sweet and crunchy rice crispy treats will take you right back to your childhood. The only difference? This gluten & dairy free version is allergy-friendly.

I've loved rice crispy treats forever. The classic pre-packaged Kellogg's Rice Krispie Squares were a school lunch staple for sure. Throughout the years we would also make them at home for special occasions. My mom's specialty was a "Rice Crispy Pizza" which I should definitely write a post on. Rice Crispy "crust", fruit rollups as a "sauce", and icing "cheese" topped with some more fruit rollup "pepperoni". My cousins gobble it up every time because it's just so fun and delicious.
As the most important part of that dish, as well as an overall amazing snack or dessert, I've been testing the rice crispy treat ratio for years. Did you know how hard it is to actually get the perfect consistency? Too many times I've had either a rock solid rice crispy brick, or they fall apart whenever I try to pick them up.
Insert here the BEST rice crispy treat recipe! After many, many test batches (I can't really complain because they all taste so delicious), this ratio of crispy to marshmallow is my favourite. Not too hard, and not too soft. They're juuuust right.
4 Ingredients you need to achieve the BEST rice crispy treats ever

These rice crispy treats are also very allergy-friendly! This recipe is gluten and dairy free, as those fit into my dietary restrictions.
Crispy Rice Cereal: My pick for this recipe is the Nature's Path Organic crispy rice. It is certified gluten-free which I appreciate. It's sad that the original Kellogg's Rice Krispies are not gluten-free, as they contain malt flavouring which is made from barley. This is very unfortunate because I think it would be quite simple to not include this one ingredient. It is just a rice cereal after all. Anyways, I love this Nature's Path Organic cereal. It tastes the same as the original, just with the gluten-free, organic price tag.
Mini Marshmallows: Any brand of mini marshmallows will do for this recipe, but it is important that they're mini. They melt faster and I love the texture of having some whole marshmallow chunks in the treats. Adding additional mini marshmallows in with the rice cereal is the way to do it.
All you would have to do to make these treats vegan is sub in a vegan marshmallow. I've seen Dandies in several stores near me, however I have not tried them. I cannot for sure recommend a 1:1 swap for this recipe, so if you try them, let me know!
Butter: You could use regular butter, but to keep this recipe dairy-free I like to use Melt Organic vegan butter. It behaves the exact same as butter would in this recipe, so you can use whichever you prefer. I like Melt in particular as a vegan butter because it comes in sticks for easy measuring. Just make sure you're not using a "buttery spread" because those contain a lot more oil and may behave differently in the recipe.
Vanilla Extract: Optional, but it really makes the treats sing. Just a splash of vanilla extract enhances the sweet marshmallow flavour and will take these rice crispy treats to the next level.

How to make the BEST rice crispy treats
The thing I love most about these rice crispy treats is how they come together with only about 5 minutes of hands-on work. From start to finish, you could be snacking on these treats in just over 30 minutes!
The first thing you want to do is measure out all of your ingredients. These treats will come together fast so you want to have all of your quantities ready to go. This is why I love my Pyrex glass mixing bowl set and mini mis-en-place bowls.
Once ready to go, combine the vegan butter with the majority of the mini marshmallows in a large microwave-safe bowl. Heat for 30 seconds at a time, stirring in between intervals with a greased spatula until fully melted.
Once melted, add in the vanilla extract and stir.
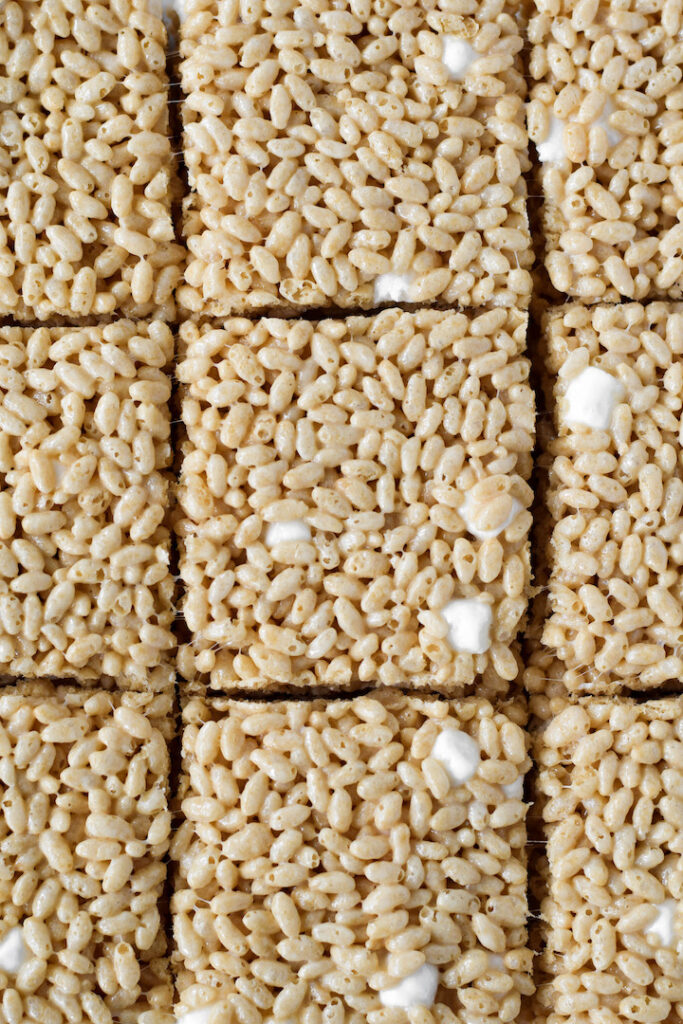
After melting the wet mixture, quickly add in all of the crispy rice cereal and the remaining mini marshmallows. Stir with your greased spatula to coat everything.
Pour and spread the entire mixture into a parchment-lined 9x9 baking dish. I like to spray my rubber spatula with coconut oil and use it to press the rice crispy treats into the pan. You want to make sure you compress them enough that they will hold together, and not so much that they turn into one big brick (which is not very likely for this recipe in my experience, just a warning).

Once nicely shaped in the pan, let the rice crispy treats sit to cool for about 30 minutes.
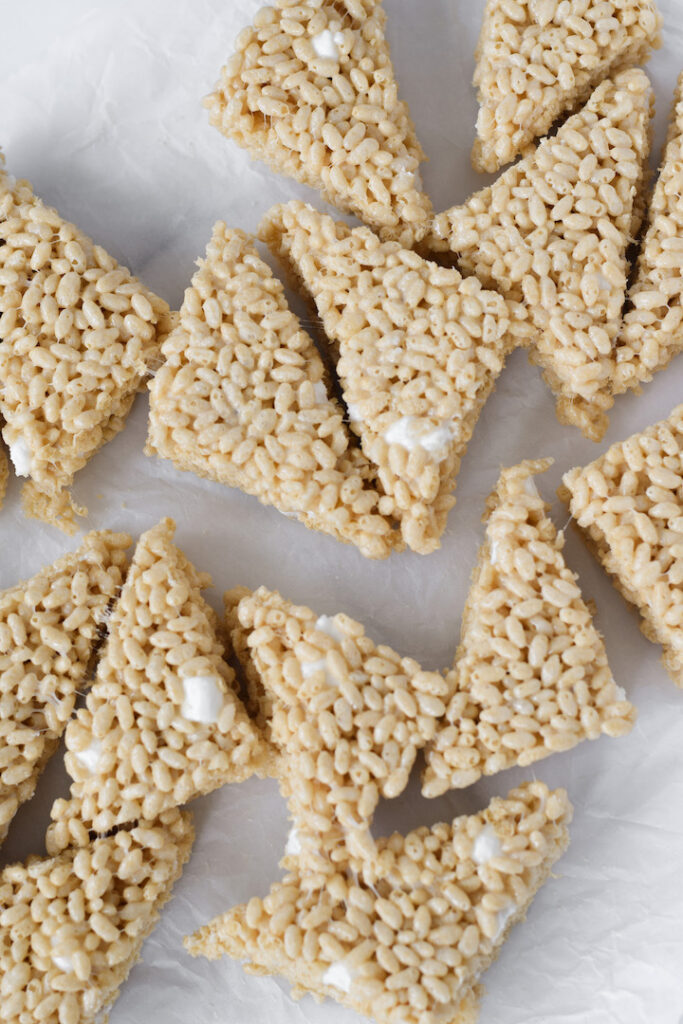
After this time, you can remove the entire parchment from the pan, and carefully slice the treats into 9 large squares. One square is considered one serving, although sometimes I like to cut them smaller to get more portions as seen in this photo below.
Storage Instructions
To store, place the rice crispy treats in an air-tight container, with parchment pieces in between vertical stacks to prevent sticking. They will keep at room temperature for up to 4 days. After that time, they may begin to get a bit crisp and stale, but still delicious! Although I can't foresee them lasting that long.
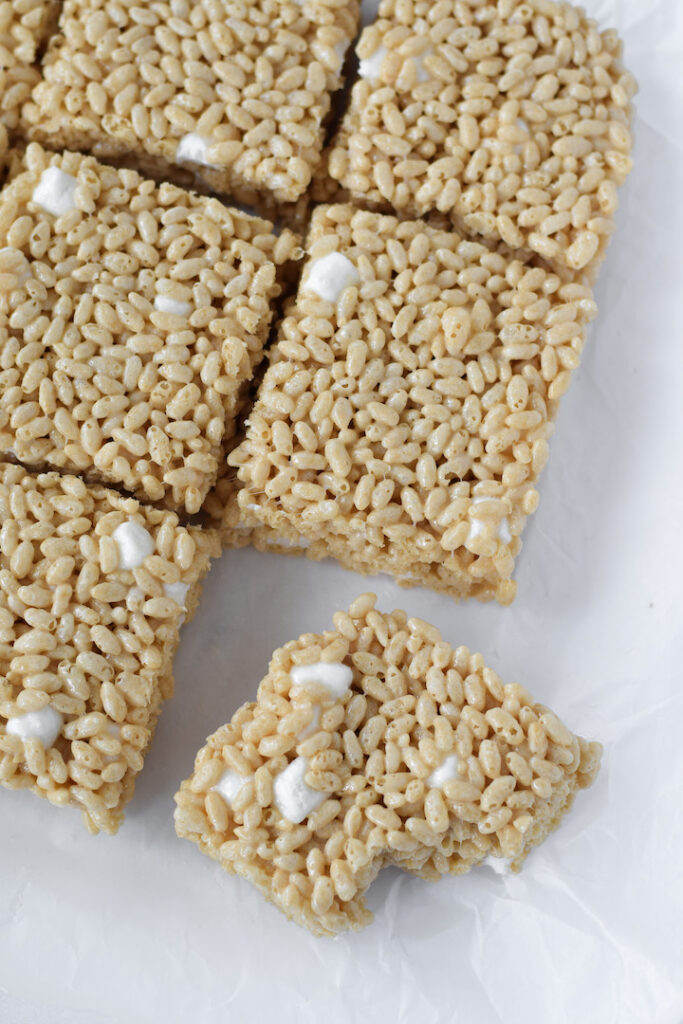
And there you have it, the BEST allergy-friendly, gluten-free, dairy-free rice crispy treats. They are perfect as a snack or even as a dessert centrepiece. Kid-friendly and adult-friendly, these are sure to fly off your countertop!
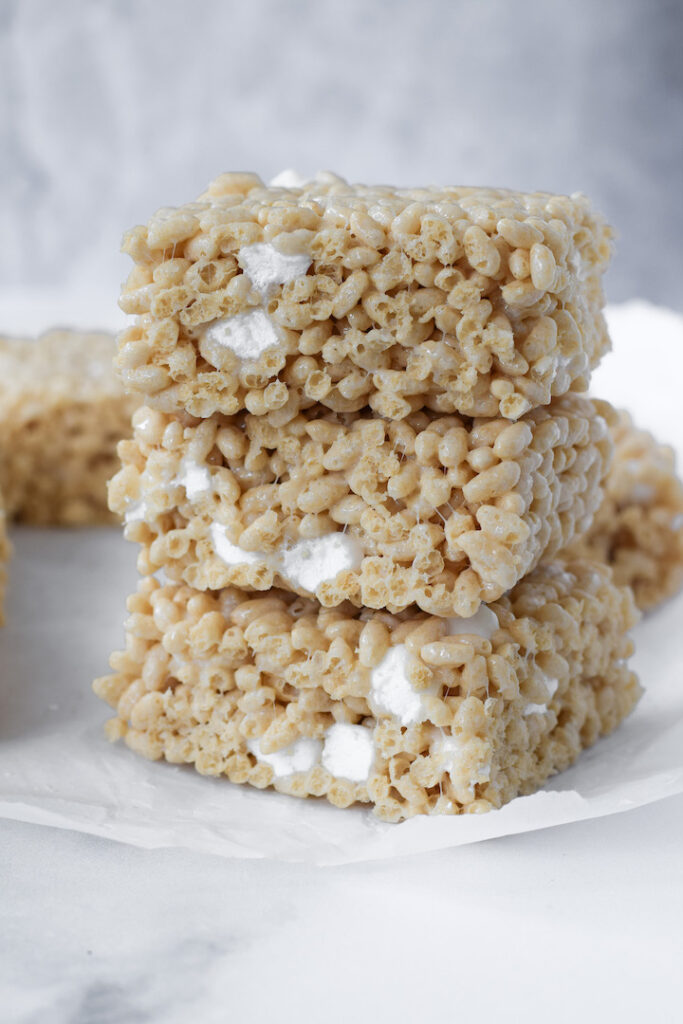
Have you made these gluten-free, dairy-free rice crispy treats? Leave a comment below and tag me on instagram @fromoliviaskitchen!
Thank you so much for visiting this recipe - it's guaranteed to become a staple in your kitchen! I can't wait for you to try them.
More Gluten-Free Desserts
Recipe

The BEST Rice Crispy Treats
Ingredients
- ¼ cup Dairy-free butter could sub regular butter
- 4 + 1½ cups Mini marshmallows separated
- ¼ teaspoon Vanilla extract
- 6 cups Gluten-free crispy rice cereal my pick is Nature's Path Organic
Instructions
- Measure out all ingredients. These rice crispy treats come together quickly so having everything portioned out will help.
- Place dairy-free butter and 4 cups of mini marshmallows in a large, microwave-safe bowl. Microwave in 30 second intervals, stirring with a greased rubber spatula in between, until completely melted.
- Add the vanilla extract to the butter-marshmallow mixture. Stir to combine.
- Pour in the crispy rice cereal and the remaining 1½ cup mini marshmallows. Mix with a greased spatula until everything is fully coated.
- Pour into a parchment-lined 9x9 baking dish. Using the greased spatula, spread and press the rice crispy mixture into the pan. Be sure to pack them down.
- Let cool and rest for 30 minutes.
- Slice into 9 large squares. For 18 smaller pieces, cut in half again. Enjoy!



Comments
No Comments