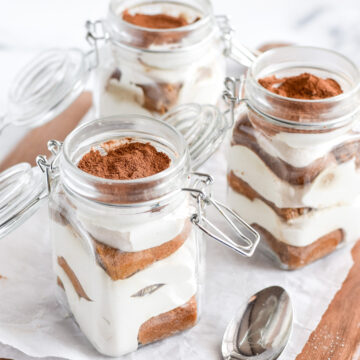
These gluten-free and dairy-free tiramisu jars are a perfectly portioned healthy dessert. With the flavour of a classic Italian dessert, and the convenience of using pantry staples, this easy dessert recipe is sure to be a hit with your family and friends!

Tiramisu is a classic Italian dessert made of espresso-soaked ladyfinger biscuits layered between a creamy mascarpone mixture and topped with a sprinkle of cocoa powder. While I was only introduced to tiramisu a few years ago, I was quickly hooked by the creamy texture and the deep chocolatey-espresso flavour.
Unfortunately with my change to a gluten-free diet, it had been a while since I had tiramisu, except for the rare occasion I found a GF bakery that made it. When I saw some gluten-free ladyfinger cookies in the store, I knew they would be perfect for this recipe. The soft, airy biscuits are perfect for absorbing the espresso and softening up within the layers of the dessert.
I also love a good challenge. Creating dairy-free alternatives to classic dishes brings me so much joy, and let me tell you this dairy-free mascarpone alternative I've created is amazing! Like seriously, lick-the-bowl-clean good!
These gluten-free and dairy-free tiramisu jars are creamy, soft, flavour-packed, healthy, and perfectly-portioned. What else could you want in a dessert recipe? Learn how to make these show-stopping little desserts in just 30 minutes of hands-on time below!
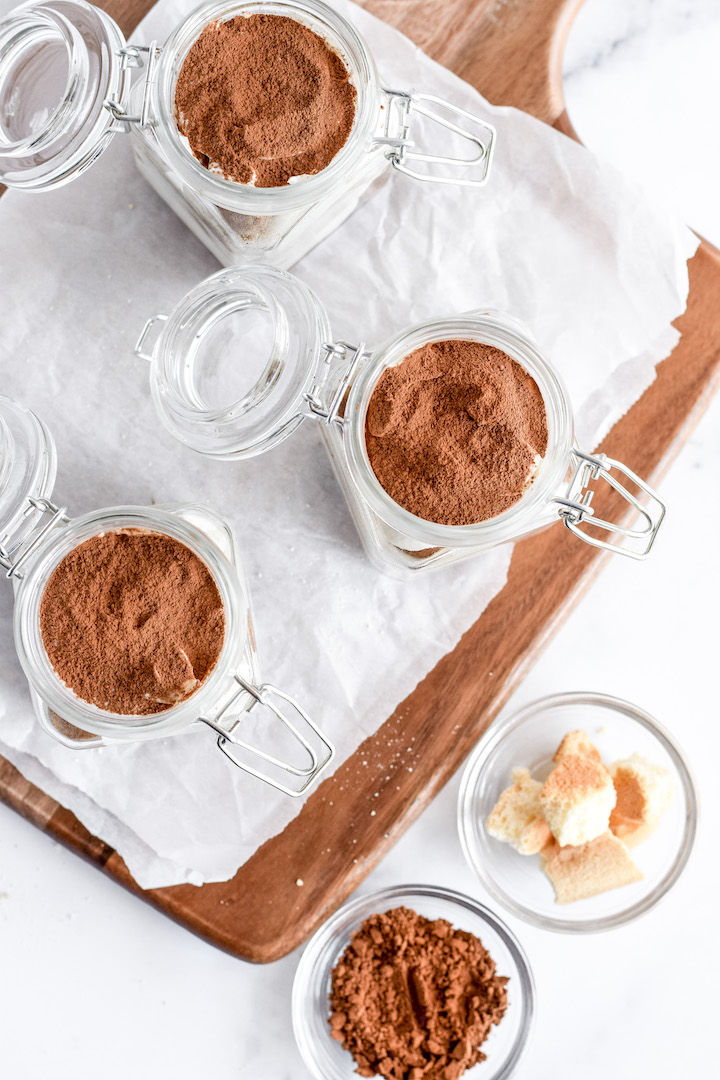
How do you make a dairy-free tiramisu?
These tiramisu jars have to be one of my favourite desserts I've created! They are healthy, soft, and creamy - all without the gluten and dairy. How did I do it, you might ask. The answer is with commonly found pantry staples!
A traditional tiramisu looks very similar to these jars, with layers of espresso (and liqueur) soaked ladyfingers and a creamy mascarpone-egg mixture.
BUT it's super easy to replicate to suit gluten and dairy dietary restrictions. Using store-bought (or homemade) gluten-free ladyfingers is the easy part. I find them around me at large grocery stores. You could also check out Schar gluten-free online. Finding or making ladyfingers without eggs is the only substitution required to make these jars entirely vegan!
The mascarpone-egg mixture is replaced by a combination of a sweetened cashew cream folded into whipped coconut milk. And it's delicious! I love how easy it is to make too. I always have a large bag of raw, unsalted cashews in my pantry for making dairy-free subs and I recommend you do too.
See? It's that easy to make a deliciously creamy and decadent dessert to cater to your dietary restrictions! Plus I bet all of your friends and family will love them without even knowing they're gluten and dairy-free. Keep reading to learn how to make these easy tiramisu jars.
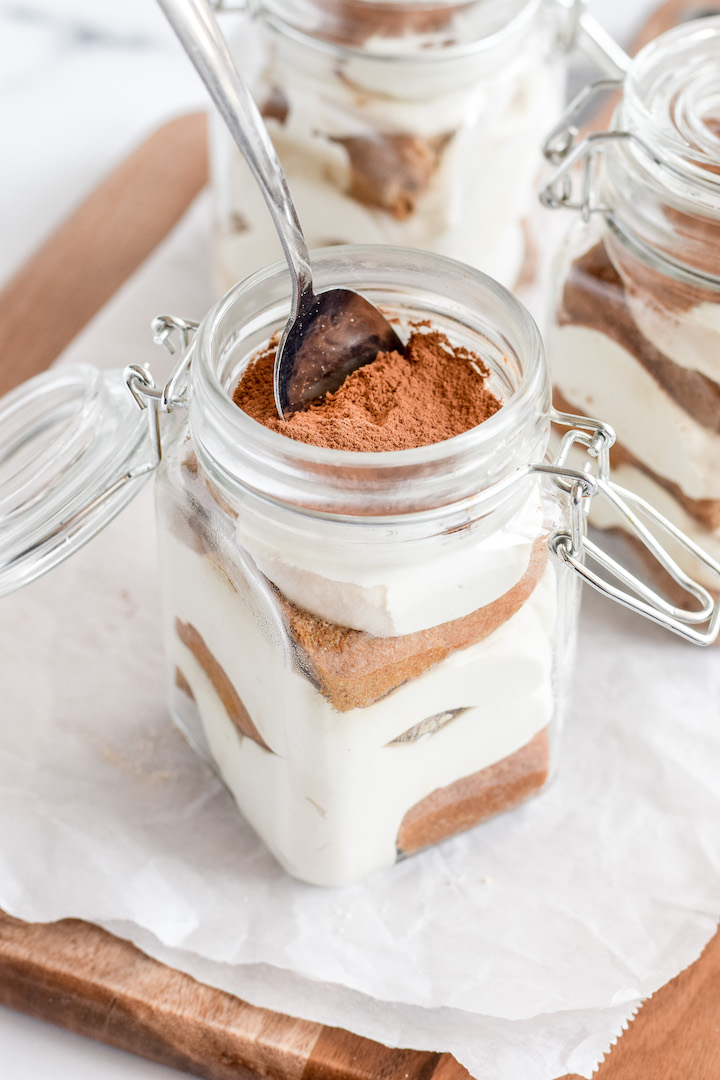
Ingredients
One of the great things about this gluten-free and dairy-free tiramisu recipe is how it uses mainly pantry staples. If you're already following these diets, then you'll most likely have some of these supplies! Here's what you'll need:
- A can of full fat coconut milk chilled overnight in the fridge
- Raw, unsalted cashews soaked in boiling water for 15 minutes
- Your favourite dairy-free milk I used almond milk
- Maple syrup
- Lemon juice
- Vanilla extract
- Pinch of salt
- Gluten-free ladyfingers I used the Schar brand. To make this vegan all you'd have to do it make your own egg-less ladyfingers
- 4 shots espresso or strong brewed coffee
- Cocoa powder
You'll also need mini jars to make them in. These are similar to the ones I use. They hold approximately 250ml or 8oz.
Note that this recipe could be made layered in a baking pan the same way a traditional tiramisu is constructed, however I am unsure of the quantities that would require. The recipe may need to be doubled to fit.
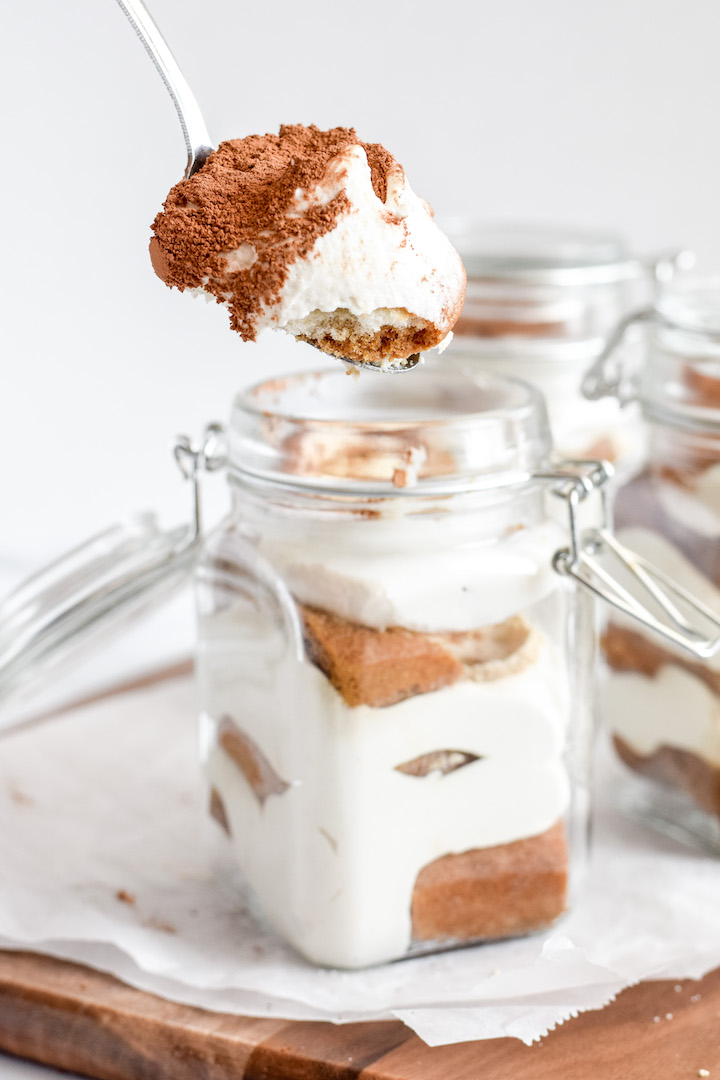
How to make the tiramisu jars
Believe it or not, this recipe actually has little hands-on time - that's what makes it so easy. About 20-30 minutes is all you need to spend creating and layering the tiramisu jars. The rest is chilling time where you (im)patiently wait for them to be ready!
The night before
The night before you're going to make the tiramisu jars, place your can of coconut milk in the fridge. This will allow the coconut cream and water to separate, making it easier for you to later scoop out just the thick, rich coconut cream.
Prep time!
The next day, place the cashews in a bowl and cover with boiling water to soften them about 15 minutes before you're ready to begin. Brew your espresso at the same time and place in the fridge to cool completely. Hot espresso will leave you with condensation in your jars.
Drain the cashews and add to a high-powered blender with the dairy-free milk, maple syrup, lemon juice, vanilla, and salt. This mixture acts as our plant-based "sabayon", which is a combination of egg yolks and sugar in a traditional tiramisu. Blend for 2 minutes until smooth and creamy. It sounds like a long time but trust me. Set aside.
In a large bowl, scoop out the thick white part of the coconut milk. It should be pretty solid when chilled. Discard the coconut water or save for another recipe. Using a hand mixer, whip the coconut milk for 3-5 minutes until air has incorporated and it is light and fluffy. This acts as our "mascarpone cheese" texture.
Pour the cashew mixture into the coconut milk bowl. Using a spatula, gently fold together until fully incorporated, being careful to not knock the air out of the whipped coconut milk.

Assembly
Then it's time to layer! Gather your 4 small jars so you can make an assembly line. Begin by breaking the lady fingers into pieces that will fit in the jars. Dip the lady fingers into the espresso and place on the bottom of the jar in 1 layer. Spoon some of the creamy mixture on top to completely cover the lady fingers. Repeat by alternating soaked lady fingers and cream until the jar is filled, ending with a cream layer. Repeat for the other 3 jars.
Chill overnight
Close or cover the tops of the jars and place in the fridge overnight. When ready to serve, sift cocoa powder over the tops, clean off any that fell around the jars, and enjoy! You've made a soft, creamy, and delicious healthy dessert.
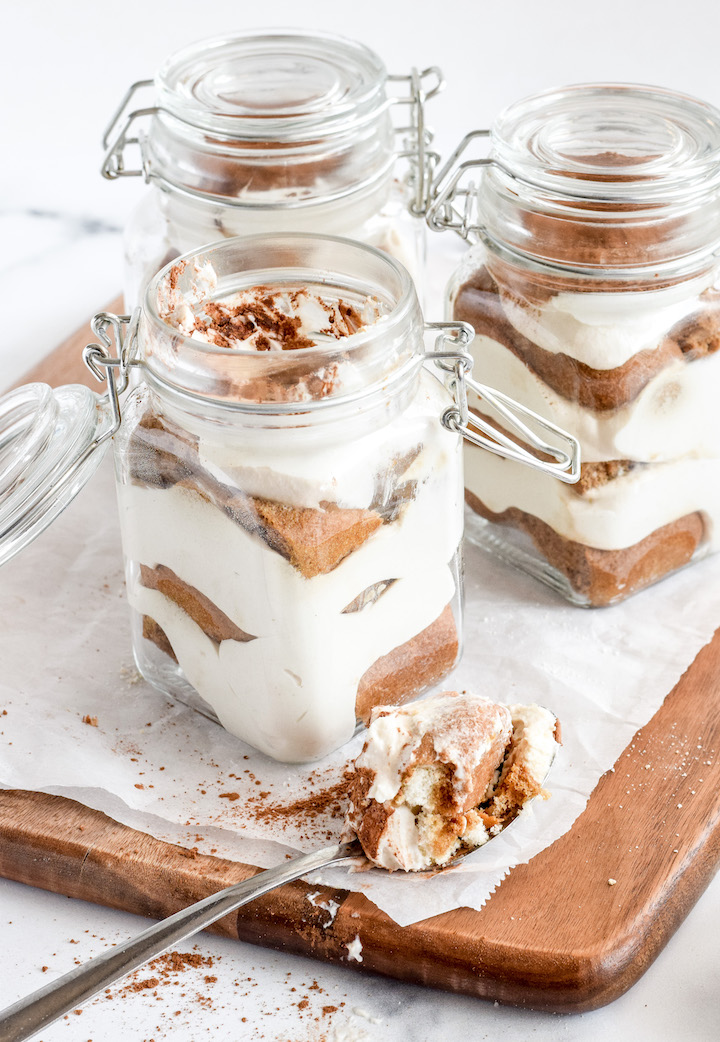
These gluten-free and dairy-free tiramisu jars will be the best thing you've made in a while. Creamy, soft, healthy, and easy to make. Not only are they insanely delicious, but they're allergy-friendly, so all of your friends and family can enjoy… if you let them have one 😉
Have you made these gluten-free and dairy-free tiramisu jars? Be sure to leave a comment telling me how much you loved them, and tag me on instagram @fromoliviaskitchen! I hope you enjoy as much as I do!
More Gluten-Free Desserts
Recipe
Gluten-Free and Dairy-Free Tiramisu Jars
Ingredients
- 1 can full fat coconut milk chilled overnight in the fridge
- ¾ cup raw, unsalted cashews soaked in boiling water for 15 minutes
- ⅓ cup dairy-free milk
- ¼ cup maple syrup
- 1 teaspoon lemon juice
- ½ teaspoon vanilla extract
- pinch of salt
- ½ package gluten-free ladyfingers I used the Schar brand
- 4 shots espresso or strong brewed coffee
- cocoa powder to dust on top
Instructions
- The night before you're going to make the tiramisu jars, place your can of coconut milk in the fridge.
- 15 minutes before you're ready to begin, place the cashews in a bowl and cover with boiling water to soften them. Brew your espresso at the same time and place in the fridge to cool completely.
- Drain the cashews and add to a high-powered blender with the dairy-free milk, maple syrup, lemon juice, vanilla, and salt. Blend for 2 minutes until smooth and creamy. Set aside.
- In a large bowl, scoop out the thick white part of the coconut milk. It should be pretty solid when chilled. Discard the coconut water or save for another recipe. Using a hand mixer, whip the coconut milk for 3-5 minutes until air has incorporated and it is light and fluffy.
- Pour the cashew mixture into the coconut milk bowl. Using a spatula, gently fold together until fully incorporated, being careful to not knock the air out of the whipped coconut milk.
- Then it's time to layer! Gather your 4 small jars so you can make an assembly line. Begin by breaking the lady fingers into pieces that will fit in the jars. Dip the lady fingers into the espresso and place on the bottom of the jar. Spoon a layer of the creamy mixture on top to completely cover the lady fingers. Repeat by alternating soaked lady fingers and cream until the jar is filled, ending with a cream layer. Repeat for the other 3 jars.
- Close or cover the tops of the jars and place in the fridge overnight. When ready to serve, sift cocoa powder over the tops, clean off any that fell around the jars, and enjoy! You've made a soft, creamy, and delicious healthy dessert.



Daryl says
I've been trying to eat less dairy and when I saw this recipe, I thought it was too good to be true. Tiramisu is one of my favorite desserts. I won't say this is a complete replacement for my love of tiramisu, but it was way better than I expected. Each aspect individually did not convince me, but everything combined (and set in the fridge overnight) really rounded out the flavors nicely. I will 100% make this again and everyone I shared it with enjoyed it.
Olivia Parsons says
Hi Daryl, I'm so glad you were able to enjoy dairy-free tiramisu! This recipe is one of my favourites too.
Cindy says
Hi there!
Can this be made without cashews (nut allergy!) Is there a substitute I could use or can I omit them?
Thanks!
Olivia Parsons says
Hi Cindy— While I haven't tried this without the cashews, my cut says maybe firm tofu could be blended and used in the same way? If you try it, let me know!