Make delicious homemade ice cream in your blender in just 10 minutes! No churning or ice cream maker required. This recipe has a base of just 4 ingredients, allowing you to add mix-ins to make your favourite flavour. It's so easy!
Make your own ice cream easily at home with this No Churn Blender Ice Cream recipe! No ice cream maker or fancy equipment required—all you need is your blender and 10 minutes and you can prepare delicious homemade ice cream with 4 simple ingredients. No egg yolks required either!
The best part is that this base recipe is super customizable, so you can create all your favourite flavours. Choose your mix-ins, flavouring extracts, swirls, toppings—you name it!
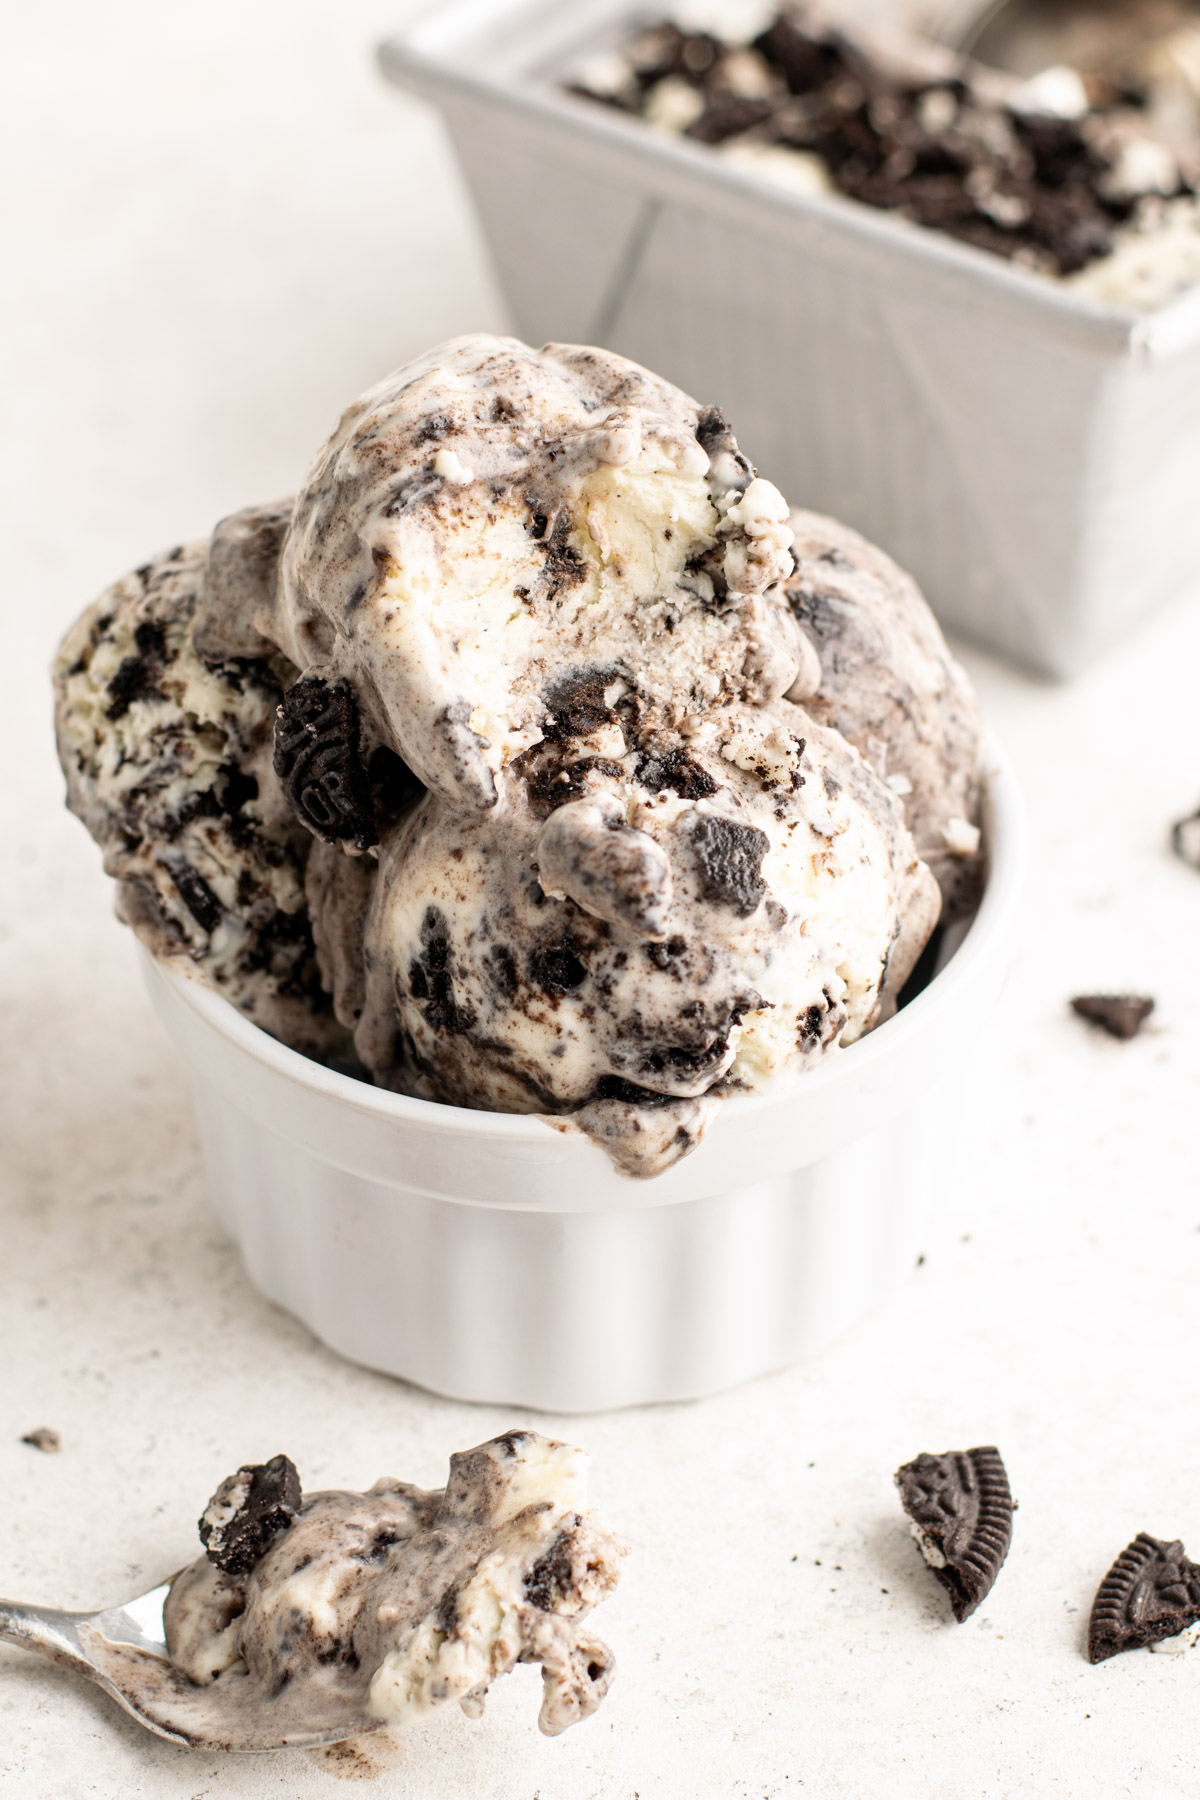
My favourite flavour is cookies and cream, so that's what I've demonstrated in the images in this post. But get creative and make your favourites at home. I promise it's super easy and delicious. You're going to be keeping this in your freezer all summer long.
Jump to:
Why You'll Love This Recipe
- Homemade ice cream so you can control the ingredients.
- No ice cream maker or fancy equipment required—just your blender!
- It takes just 10 minutes of prep.
- Create your favourite flavours and add your own mix-ins.
- A delicious summer dessert to keep in your freezer!
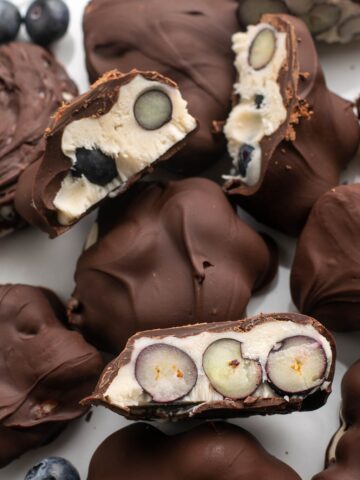
Want more summer desserts? You'll also like my waffle ice cream sandwiches, chocolate-covered cherries, vegan chunky monkey ice cream, and no-bake blueberry cheesecake.
Ingredient Notes
Here are all the ingredients you'll need to make this blender ice cream recipe:
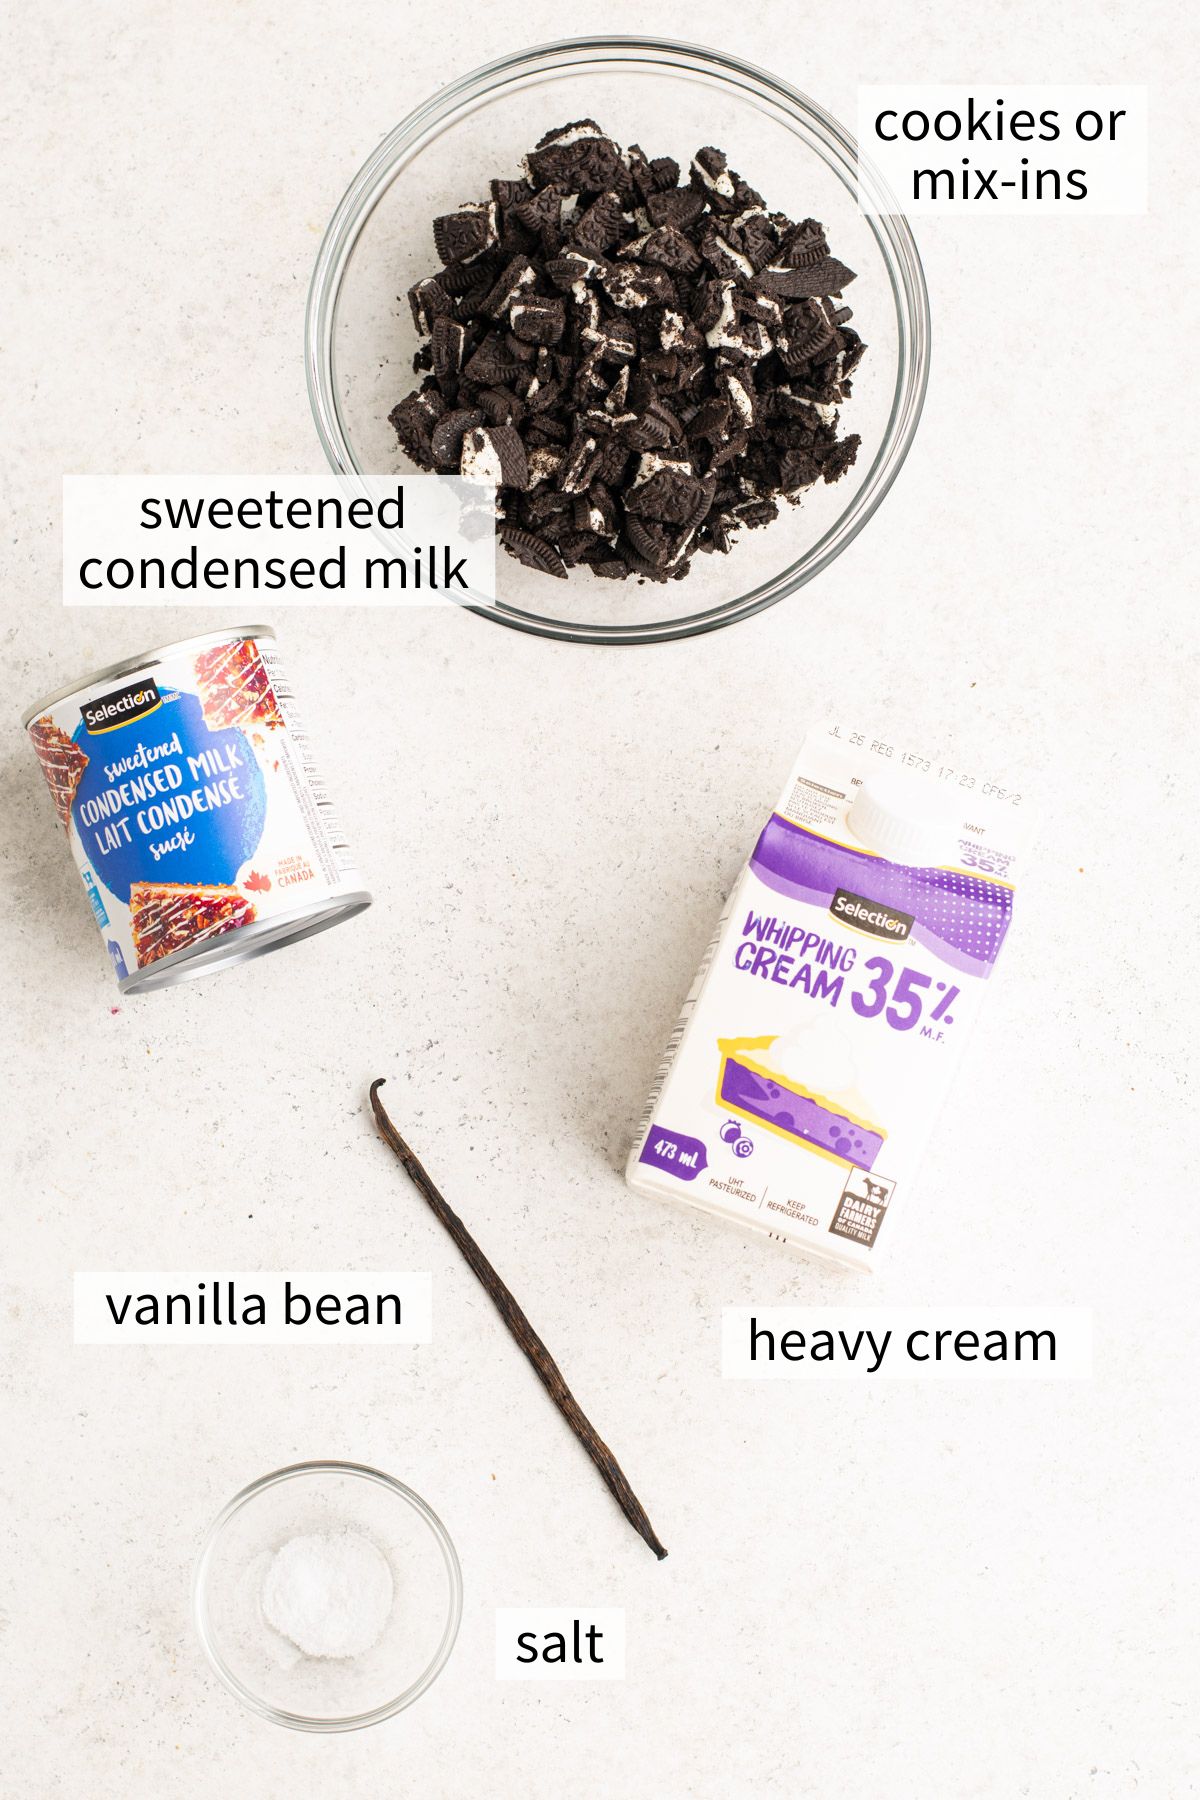
- 35% heavy whipping cream
- Sweetened condensed milk
- Vanilla bean, seeds only or 1 tablespoon vanilla extract
- Salt—don't skip it! Salt balances the sweetness in this ice cream.
- Oreo cookies or your mix-in of choice
Substitutions
There are many ways to change up this ice cream. Here are some substitution suggestions:
- Add your favorite mix-ins. Try crushed cookies, candies, nuts, fruits, chocolate chips, etc. Or omit all mix-ins for a plain vanilla ice cream.
- Add different extracts for flavour. Try ½ teaspoon almond extract, lemon extract, peppermint extract—whatever you like. Add this to the blender.
- When stirring in the mix-ins, swirl in your favourite spread like nutella, cookie butter, peanut butter, jam, etc.
- Make chocolate ice cream by adding ¼ cup cocoa powder to the blender with the other ingredients.
- Gluten-free: Ensure you use a gluten-free mix-in like gluten-free Oreos.
- Dairy-free/vegan: The whipping cream and sweetened condensed milk are very important for the texture of this ice cream. I recommend searching for a specific vegan ice cream recipe.
Equipment
No fancy ice cream machine is required for this recipe. You will just need a medium to large size blender. I use my ZWILLING ENFINIGY Power Blender because I love how large and powerful it is. Any high power blender should do. Vitamix blenders are also great!
I don't recommend using a bullet style blender as it will likely be too small. The whipping cream needs room to expand when air is blended in, so it needs enough space and power to circulate. A food processor could maybe be used.
Be careful not to over-blend because you will make butter! Just 30-60 seconds should be enough to whip a fluffy texture.

Step-by-Step Instructions
Be sure to read the recipe card below for the full recipe.
(1) Chop the cookies into chunks or add them to a large freezer bag and crush with a mallet or rolling pin. Slice the vanilla bean lengthwise and use the back of a knife to scrape out all the seeds.
(2) Add all ingredients except the cookies to the bucket of a large blender.

Blend on medium speed for 30-60 seconds until it forms a soft whipped cream, almost like soft serve consistency.
(3) Use a spatula to gently stir the cookies into the ice cream base.
(4) Pour the ice cream into a loaf pan or freezer-safe container. Be sure to scrape the sides of the blender jar. Cover with a lid or plastic wrap and freeze overnight.

(5) & (6) The next day, allow to thaw for 10 minutes before scooping. Enjoy!

What to Serve with Homemade Ice Cream
Allow this homemade ice cream to thaw for 10 minutes before scooping as it will freeze quite hard. Enjoy in a cup or a cone and add more toppings if you want!
This no-churn ice cream recipe is the perfect ending to a summer BBQ. Try it with some of these recipes:
- Chimichurri Shrimp
- Gluten-Free Salsa Pinwheels
- Gluten-Free Taquitos
- Chimichurri Flank Steak
- Gluten-Free Pasta Salad
- Mango Pico de Gallo
- Gluten-Free Burgers
Check out more summer recipes!
Storage
For best results, store ice cream in an airtight container in the freezer for up to 3 months. Thaw for 10 minutes before scooping.
Make Ahead
As ice cream is kept in the freezer, this is the perfect dessert to make ahead of time. It will keep in the freezer for several months so it is ready when the craving strikes.
Batching
Scale the ingredient quantities up if you want to make more ice cream. This ice cream is easily batched, depending on how large your blender is.

Expert Tips
Here are some of my top tips and tricks for successful blender ice cream:
- Chop or prepare your mix-ins before blending so the whipped cream does not deflate.
- Ensure the heavy cream is added to the blender cold from the fridge.
- Don't blend too long or your ice cream may turn into butter!
- Change up the flavour by adding different mix-ins, spreads, or extracts like suggested in the substitutions section above!
- Ensure the ice cream container is covered to avoid freezer burn.
- Allow to thaw slightly before scooping for the easiest scoop.
Frequently Asked Questions
Just about any you like! Here are some ideas:
—Change up the mix-ins by adding your favourites. Try crushed cookies, candies, nuts, fruits, spreads, etc.
—Add different extracts for flavour. Try ½ teaspoon almond extract, lemon extract, peppermint extract—whatever you like. Add this to the blender.
—When stirring in the mix-ins, swirl in your favourite spread like nutella, cookie butter, peanut butter, jam, etc.
—Make chocolate ice cream by adding ¼ cup cocoa powder to the blender with the other ingredients.
Yes—ensure you use gluten-free mix-ins like gluten-free Oreos or other cookies. Fruit, nuts, (most) candies, and nut butters should be gluten-free too.
No, I don't recommend it for this recipe. The whipping cream and sweetened condensed milk are very important for the texture of this ice cream. I recommend searching for a specific vegan ice cream recipe.
This homemade ice cream recipe is made easily in just 10 minutes using your blender! It is the perfect summer dessert that you can keep on hand for when the craving strikes. It's super customizable so you can make your favourite flavours!
More Ice Cream Recipes
More Dessert Recipes
- Baked Oats Without Banana
- Chocolate Covered Blueberry Frozen Yogurt Clusters
- Golden Oreo Protein Ice Cream (Ninja Creami)
- Cottage Cheese Chocolate Pudding


Have you made this blender ice cream? I'd very much appreciate it if you leave a 5-star ⭐️⭐️⭐️⭐️⭐️ review below, and tag me on instagram @fromoliviaskitchen!
Recipe

Blender Ice Cream
Equipment
- High-power blender
Ingredients
- 473 ml 35% heavy whipping cream 1 small carton
- 300 ml sweetened condensed milk 1 can
- 1 vanilla bean, seeds only or 1 tablespoon vanilla extract
- ¼ teaspoon salt
- 20 Oreo cookies or your mix-in of choice
Instructions
- Chop the cookies into chunks or add them to a large freezer bag and crush with a mallet or rolling pin. Slice the vanilla bean lengthwise and use the back of a knife to scrape out all the seeds.
- Add all ingredients except the cookies to the bucket of a large blender. Blend on medium speed for 30-60 seconds until it forms a soft whipped cream.
- Use a spatula to gently stir in the cookies. Pour the ice cream into a loaf pan or freezer-safe container and cover with a lid or plastic wrap. Freeze overnight.
- Allow to thaw for 10 minutes before scooping. Enjoy!
Notes
- Don't blend too long or your ice cream may turn into butter!
- Use your favourite mix-ins like chopped cookies, candies, chocolates, nut butters, etc.
- Can I make this gluten-free? Yes—use gluten-free Oreos.
- Can I make this dairy-free/vegan? The whipping cream and sweetened condensed milk are very important for the texture of this ice cream. I recommend searching for a specific vegan ice cream recipe.
- Store ice cream in an airtight container in the freezer for up to 3 months. Thaw for 10 minutes before scooping.
Comments
No Comments