Move over KFC! This homemade gluten-free buttermilk fried chicken is now allergy friendly and even more delicious. It's ultra crispy and filled with flavour, not to mention gluten-free and dairy-free!

This gluten-free and dairy-free buttermilk fried chicken is out of this world delicious! Make restaurant-quality fried chicken at home with minimal time and just pantry staples. Not only do you get to control the ingredients to fit your dietary restrictions, you also get to amp up the flavour!
This healthy fried chicken recipe is crispy, moist, juicy, and packed with 10 different spices. Eat it on a sandwich, dip it, or enjoy it plain in all its gluten-free glory. KFC who?
Want to learn how you can make this incredible gluten-free buttermilk fried chicken? Keep on reading!
Looking for more gluten-free mains? Check these out:
- Fig & Prosciutto Pizza with Goat Cheese
- Dairy-Free Spicy Vodka Pasta
- Vegan BBQ "Pulled Pork" Sandwiches
- Gluten-Free Pasta Salad
Jump to:
Why You'll Love This Recipe
- Easy to make: Marinade the chicken for just 1 hour or even overnight! Then all you have to do when you're ready to cook is bread and fry the chicken—mostly hands-off cook time.
- Super moist: Soaking in a (dairy-free) buttermilk ensures that the chicken stays juicy and reduces your chances of overcooking it when frying.
- Better-than-restaurant-quality: You're sure to impress whoever is lucky enough to get a bite of this gluten-free fried chicken with a homemade blend of 10 spices encased in a crispy coating. Talk about flavour-packed!
Ingredients Needed
Here is everything you'll need to make this gluten-free and dairy-free buttermilk fried chicken:

This fried chicken is crispy, juicy, and bursting with flavour. A few notes on the ingredients...
- Chicken breasts: I find breasts are best for fried chicken sandwiches, and the tenders are great for dipping. You could absolutely use this recipe for legs or wings as well. Frying time may differ accordingly.
- Dairy-free milk: Use your favourite unsweetened milk. I used unsweetened almond milk.
- White vinegar: Creates a buttermilk tang when mixed with the dairy-free milk. You could also swap for apple cider vinegar if that's all you have on hand.
- Gluten-free all-purpose flour: I used Bob Red Mill's Gluten-Free 1:1 Baking Flour (blue bag).
- Cornstarch: Gets super crisp when fried!
- Avocado oil: This is the healthiest oil that is suitable for high heat. It's pricy, but much better for you than processed vegetable oils typically used for frying. I would not substitute olive or coconut oil, as they can break down or burn at high frying temperatures.
- Flakey sea salt: Optional but tastes great when sprinkled on the hot chicken just after frying.
Spice Mix
This spice mix does not skimp on flavour. You'll notice in the recipe card below that there are large quantities of spices, for a delicious reason! This spice mix is loosely based on KFC flavours, and gives a classic fried chicken taste to this recipe.
- Black pepper
- Salt
- Garlic powder
- Onion powder
- Oregano
- Paprika
- Thyme
- Mustard powder
- Cayenne
- White pepper

Step-by-Step Instructions
Be sure to read the recipe card below for the full ingredient list and instructions.
Marinate the chicken
One at a time, place a chicken breast on your cutting board. Slice off the tender and set aside. Cover the breast with plastic wrap and gently but firmly beat with a meat tenderizing mallet until it is an even thickness, about ½". Slice the flattened breast in half width-wise to create 2 sandwich-sized pieces. Place the chicken breast and the tender in a large container with a lid. Repeat with the remaining 4 chicken breasts.
Prepare the dairy-free buttermilk marinade by whisking together the dairy-free milk and the white vinegar. Let sit for 5 minutes. It will appear slightly thicker.
(1) Pour the buttermilk into the container with the chicken and ensure all pieces are mostly covered. Place the lid on the container and refrigerate for at least 1 hour, or overnight.

Bread the chicken
Place the avocado oil in a large, wide skillet. Turn the heat to medium and allow the oil to heat up.
In the meantime, prepare to bread the chicken. Remove the chicken container from the fridge.
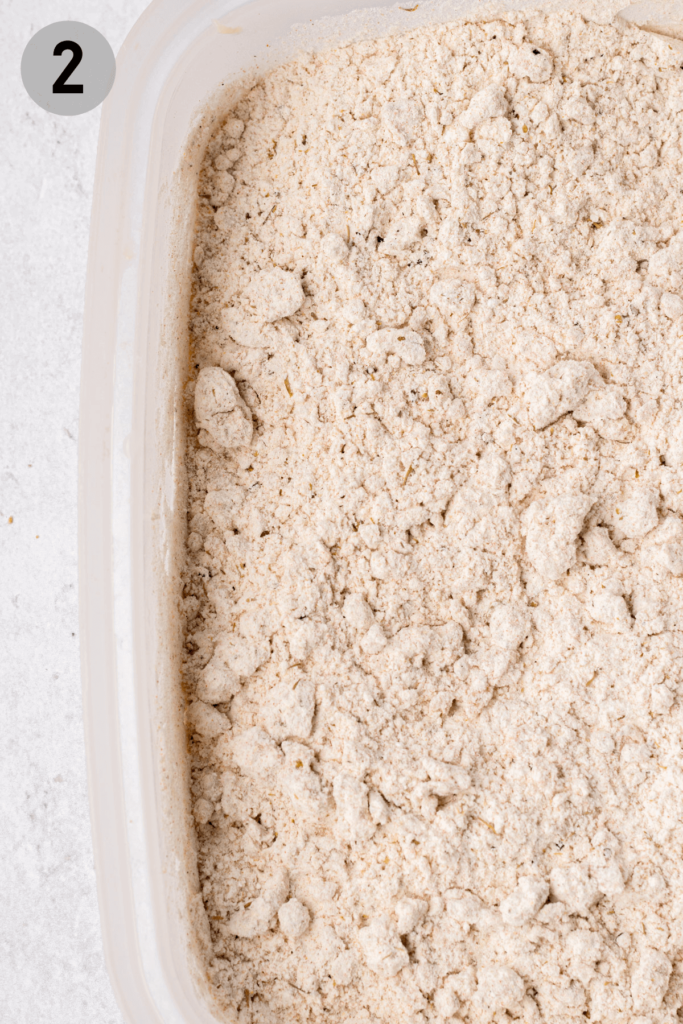
(2) In a large bowl or deep plate, mix together the gluten-free flour, cornstarch, and spices. Ensure it is thoroughly combined. Take 6-8 tablespoons of the buttermilk from the chicken and add it to the flour mixture. Use a fork to mix it around. The liquid will form flour chunks that will get ultra crispy when fried on the chicken.
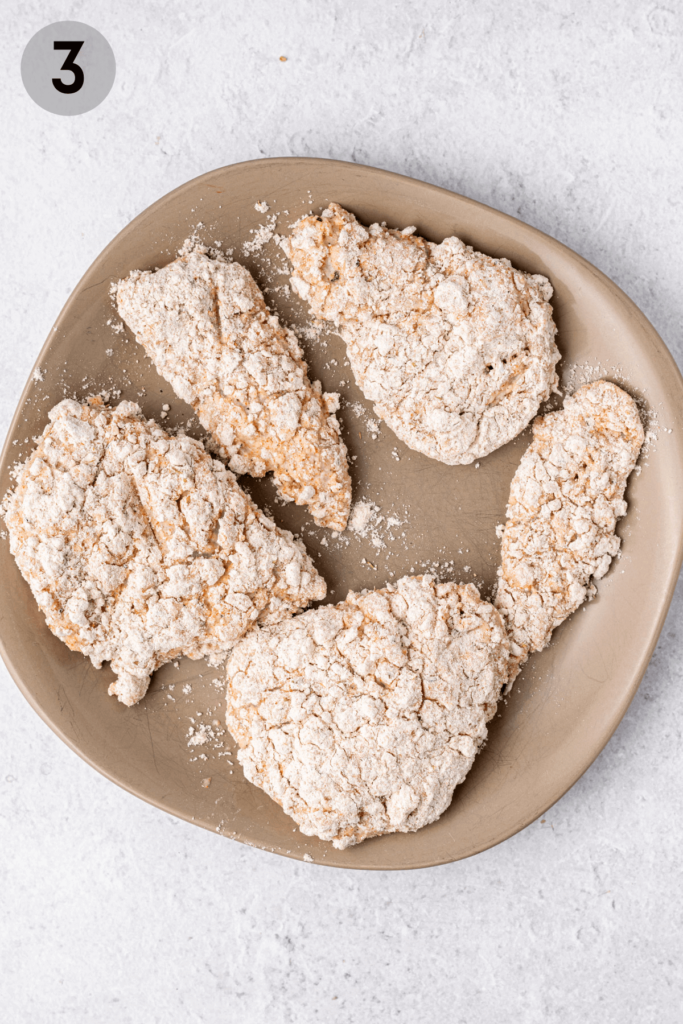
(3) Using tongs, a fork, or your hands, take 1 piece of chicken out of the buttermilk and place in the flour. Press to ensure the flour mixture sticks, then flip and repeat on the other side. Place the chicken back in the buttermilk, flipping to coat both sides, and place in the flour a second time. Press the flour into both sides of the chicken, then place on a plate to prepare for frying. Begin by preparing enough chicken to fit 1 batch in the frying skillet, then continue to bread all the chicken.
Fry the chicken
Once you've breaded enough chicken for 1 batch in your skillet, check that the oil is hot enough by dropping a small amount of flour in the oil. If it sizzles gently and begins to brown, you're good to go.
Use tongs to place as many chicken pieces as will fit in the skillet, ensuring they do not touch. Cook for 6-7 minutes until the bottom is golden, then flip and cook for an additional 6-7 minutes. The buttermilk marinade will keep the chicken juicy and lower the risk of overcooking. Tenders will take less time than the breast pieces.
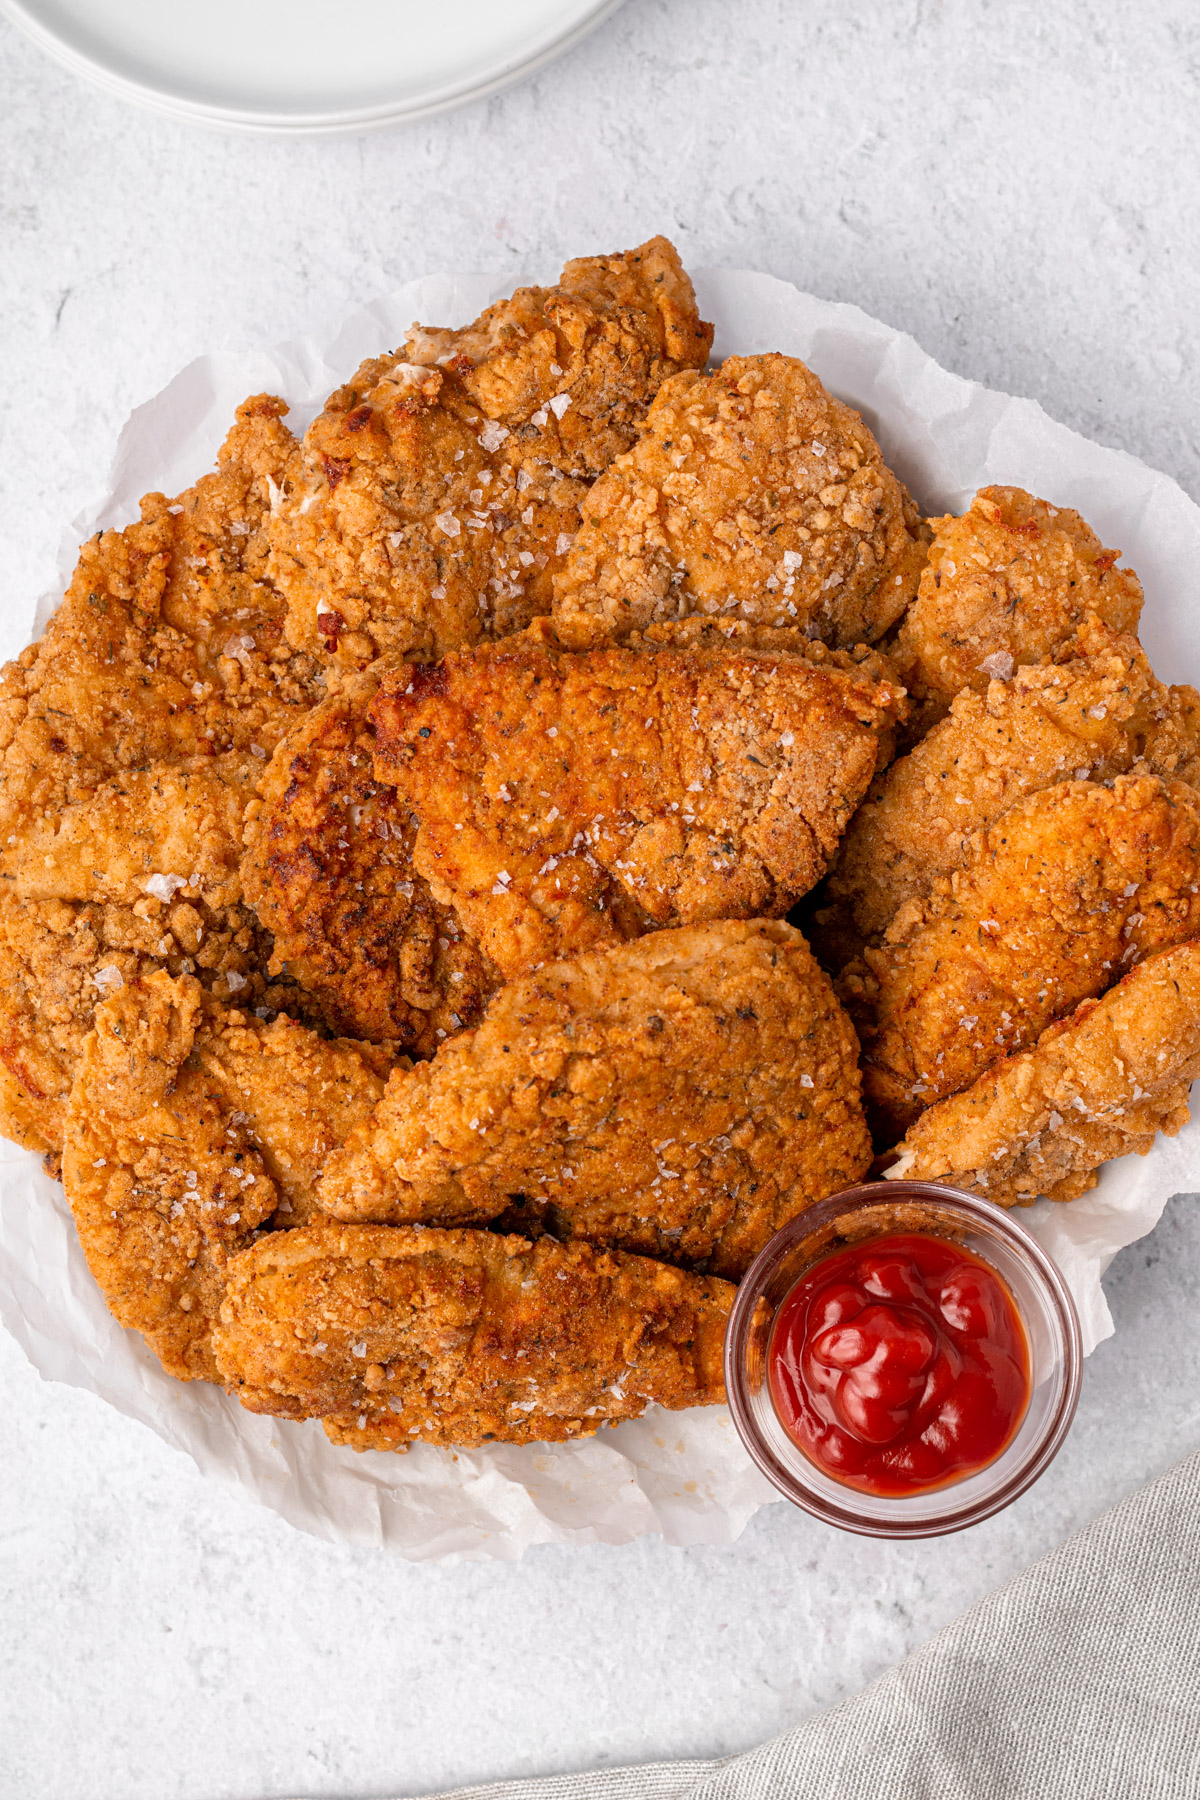
(4) When the batch is finished, remove chicken to a wire rack set over a paper towel. I like to put a large baking sheet underneath. Immediately hit the top of the chicken with flakey sea salt. Repeat with as many batches as needed; I do about 3 batches with a 12" skillet. Allow the chicken to rest for at least 5-10 minutes before eating—it will be hot!

Serving & Storage Instructions
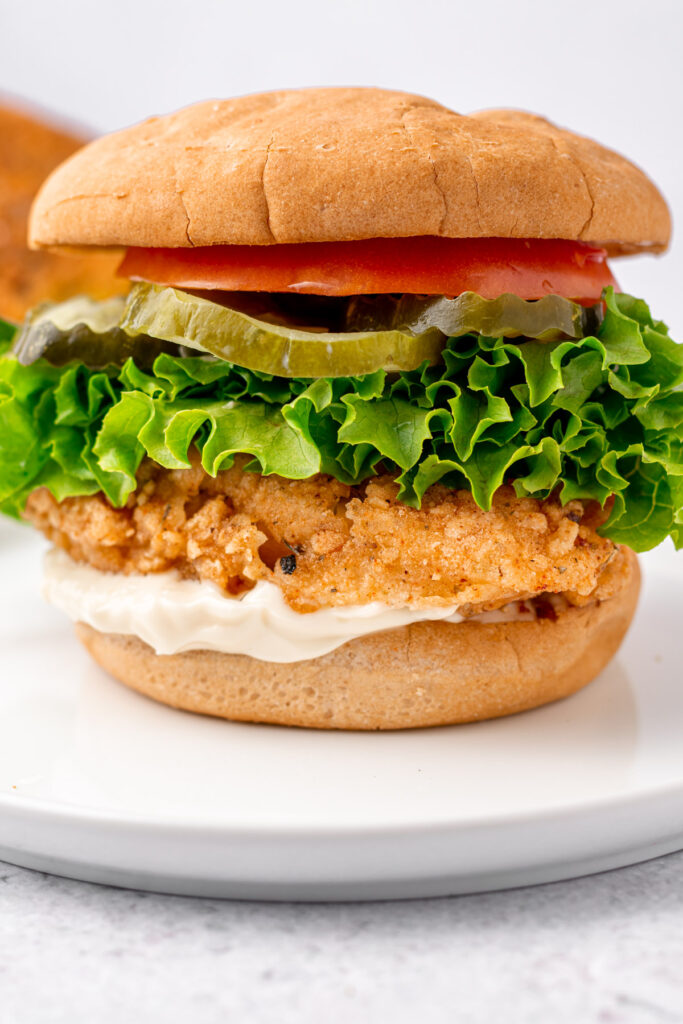
Serve the fried chicken as is with some plum sauce or ketchup, or create a gluten-free fried chicken sandwich with lettuce, tomato, pickles, and mayonnaise on a gluten-free bun. Enjoy any way you like!
Allow uneaten fried chicken to cool completely on the wire rack. Place leftovers in an airtight container and refrigerate up to 3 days. When ready to eat, reheat the fried chicken at 375ºF in an air fryer for about 5-7 minutes, or in the oven for 5-10 minutes. Enjoy as you like!

Substitutions
While this recipe was tested to be best as written, here are a few substitutions I could suggest if you wish:
- Milk. Feel free to use your favourite (butter)milk for the marinade. If dairy-free is not a requirement for you, use real buttermilk or make your own with lactose-free milk, following the recipe instructions. Additionally, any dairy-free milk should work, just ensure it's unsweetened.
- Cornstarch. This helps the chicken achieve a super crunchy coating. You could also use tapioca starch or potato starch to achieve a similar result.
- Spices. While the spice mix in the recipe card was developed to emulate the classic fried chicken taste, you should be able to omit 1-2 spices if you don't have them on hand, or make a similar substitution: for example, sub extra black pepper for the white pepper.
Expert Tips
- Set it and forget it. Prepare the chicken and place it in the marinade the night before you plan to make gluten-free fried chicken. Not only does it speed up your prep process, but it allows the chicken to sit longer, making it even more moist and juicy.
- Double bread. Coating the chicken with the flour mixture, then dipping it in the buttermilk again followed by more flour will ensure that the crispy coating is thick and well adhered to the chicken.
- Ensure your oil is hot enough. To test, drop a small amount of flour in the oil. It should immediately start bubbling and browning if the oil is ready. If nothing is happening, turn it up a little bit. If the oil starts jumping out everywhere, turn it down and allow to cool slightly. The flour should not turn black immediately.
- Serve how you like. I like to eat this gluten-free, dairy-free fried chicken any way it's served to me. With some dipping sauces such as ketchup, plum sauce, hot sauce, mustard, you name it! It's amazing as a sandwich too, with fresh toppings like crisp lettuce, tomatoes, pickles, hot peppers. You could even coat it in buffalo sauce for some buffalo chicken! On a salad would be great.
Frequently Asked Questions
Unfortunately no. The flour breading on this fried chicken really requires frying in (a small amount of) hot oil in order to "seal" in the breading and adhere to the chicken.
Absolutely! The technique of butter"milk" brining and flour breading can certainly be applied to other pieces of chicken. Fry/cook time may increase or decrease according to the size of the pieces.
I like to use the Bob Red Mill's 1:1 Gluten-Free Baking Flour (in the blue bag)—mostly since it's what I usually have on hand. It contains a high percentage of rice flour, which is commonly used for frying chicken since it gets super crispy. But you could likely use any gluten-free flour blend you have, preferably with a rice flour base.
This recipe is designed to use gluten-free flour as the breading on the fried chicken. Breadcrumbs would likely brown too soon before the interior of the chicken is cooked. I only recommend following the instructions and ingredients in the recipe card, plus recommended substitutions above in the blog post.
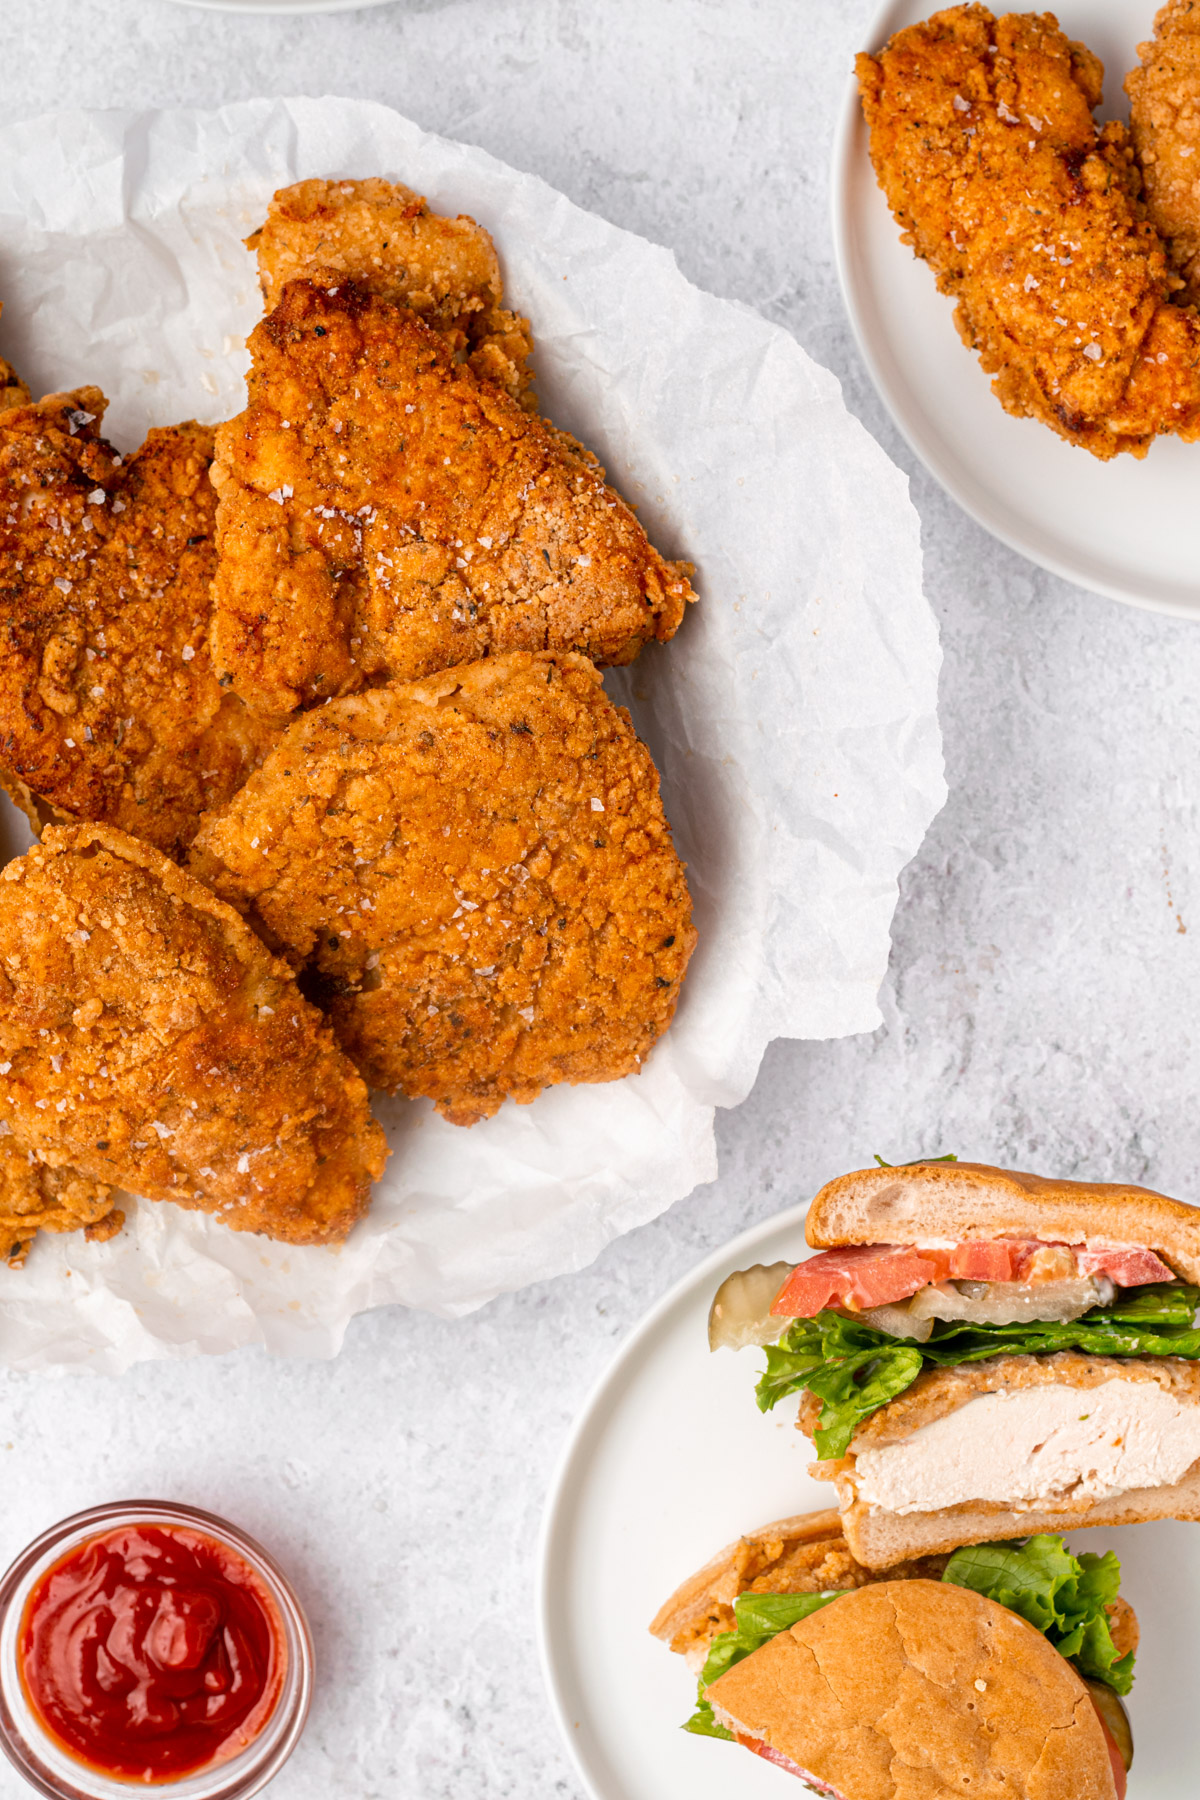
Now you've made your own restaurant-quality fried chicken—at home and allergy-friendly! This juicy, crispy, flavourful fried chicken is sure to be a crowd pleaser, whether on sandwiches, dipped, or just on their own. I'm sure you'll hear, "I can't believe this is gluten-free!". The whole family is going to love this meal.
Have you made this gluten-free and dairy-free buttermilk fried chicken? I'd very much appreciate it if you leave a comment below and tag me on instagram @fromoliviaskitchen!
More Mains You'll Love
Recipe

Easy Gluten-Free Fried Chicken
Ingredients
- 5 medium-sized chicken breasts (1.3kg)
- 2 cups (dairy-free) milk I use almond milk
- 2 tablespoon white vinegar
- 2 cups gluten-free all-purpose flour I use Bob's Red Mill 1:1 Gluten-Free Baking Flour (blue bag)
- ¾ cup cornstarch
- 2 cups avocado oil
- 2 tablespoon flakey sea salt
Spice Mix
- 1 tablespoon black pepper
- 1 tablespoon salt
- 1 tablespoon garlic powder
- 1½ teaspoon onion powder
- 1½ teaspoon oregano
- 1½ teaspoon paprika
- 1½ teaspoon thyme
- 1 teaspoon mustard powder
- ½ teaspoon cayenne
- ½ teaspoon white pepper
Instructions
Marinate the chicken
- One at a time, place a chicken breast on your cutting board. Slice off the tender and set aside. Cover the breast with plastic wrap and gently but firmly beat with a meat tenderizing mallet until it is an even thickness, about ½". Slice the flattened breast in half width-wise to create 2 sandwich-sized pieces. Place the chicken breast and the tender in a large container with a lid. Repeat with the remaining 4 chicken breasts.
- Prepare the dairy-free buttermilk marinade by whisking together the dairy-free milk and the white vinegar. Let sit for 5 minutes. It will appear slightly thicker. Pour into the container with the chicken and ensure all pieces are mostly covered. Place the lid on the container and refrigerate for at least 1 hour, or overnight.
Bread the chicken
- Place the avocado oil in a large, wide skillet. Turn the heat to medium and allow the oil to heat up.
- In the meantime, prepare to bread the chicken. Remove the chicken container from the fridge. In a large bowl or deep plate, mix together the gluten-free flour, cornstarch, and spices. Ensure it is thoroughly combined. Take 6-8 tablespoons of the buttermilk from the chicken and add it to the flour mixture. Use a fork to mix it around. The liquid will form flour chunks that will get ultra crispy when fried on the chicken.
- Using tongs, a fork, or your hands, take 1 piece of chicken out of the buttermilk and place in the flour. Press to ensure the flour mixture sticks, then flip and repeat on the other side. Place the chicken back in the buttermilk, flipping to coat both sides, and place in the flour a second time. Press the flour into both sides of the chicken, then place on a plate to prepare for frying. Begin by preparing enough chicken to fit 1 batch in the frying skillet, then continue to bread all the chicken.
Fry the chicken
- Once you've breaded enough chicken for 1 batch in your skillet, check that the oil is hot enough by dropping a small amount of flour in the oil. If it sizzles gently and begins to brown, you're good to go.
- Use tongs to place as many chicken pieces as will fit in the skillet, ensuring they do not touch. Cook for 6-7 minutes until the bottom is golden, then flip and cook for an additional 6-7 minutes. The buttermilk marinade will keep the chicken juicy and lower the risk of overcooking. Tenders will take less time than the breast pieces.
- When the batch is finished, remove chicken to a wire rack set over a paper towel. I like to put a large baking sheet underneath. Immediately hit the top of the chicken with flakey sea salt. Repeat with as many batches as needed; I do about 3 batches with a 12" skillet. Allow the chicken to rest for at least 5-10 minutes before eating—it will be hot!
Serving
- Serve the fried chicken as is with some plum sauce or ketchup, or create a fried chicken sandwich with lettuce, tomato, pickles, and mayonnaise on a gluten-free bun. Enjoy any way you like!


Maria says
My newly GF/DF family will be singing my praises for weeks after feeding them this AMAZING chicken for dinner last night! Move over KFC is right! So crispy, flavorful, indulgent! We devoured this chicken alongside a huge salad and it was the perfect Saturday night meal! Thank you so much for this awesome recipe!!!
Olivia Parsons says
Thank you so much for the kind words, Maria! I am SO glad you and your family enjoyed. This fried chicken is a crowd pleaser over here too!
Mel says
This recipe was delicious!! Definitely think I will be a fiancé after this one lol! Thank you so much for making a dairy free option! It’s hard to find delicious recipes when you can’t have dairy!
Olivia Parsons says
LOL I love this comment!!! So glad you could enjoy.
Emily says
Thank you for this recipe! My husband loves fried chicken. All of my past attempts to make it for him have been bland and anything but delicious. This recipe is simply amazing! I have made it for him twice now and he says it is the best he has ever had. Tomorrow I will be making this recipe to serve 20 people at a potluck! Can't wait for them to try it!
Olivia Parsons says
This is amazing! I love making this recipe when people come over too. Enjoy!!
Kevin says
I made the chicken, and it was flavourful,and delicious. I followed the recipe exactly as it is written,but I found the batter didn’t stick
to the chicken very well . I’d like to try it again, any suggestions.
Olivia Parsons says
I'm glad you enjoyed! Sometimes I add an egg into the wet marinade and it helps a bit. Enjoy!
Stacy says
Hello! Can this be cooked in an air fryer? Many thanks!
Olivia Parsons says
As this is a wet batter, it must be fried in oil. Check out my chicken nuggets recipe which can be air fried.